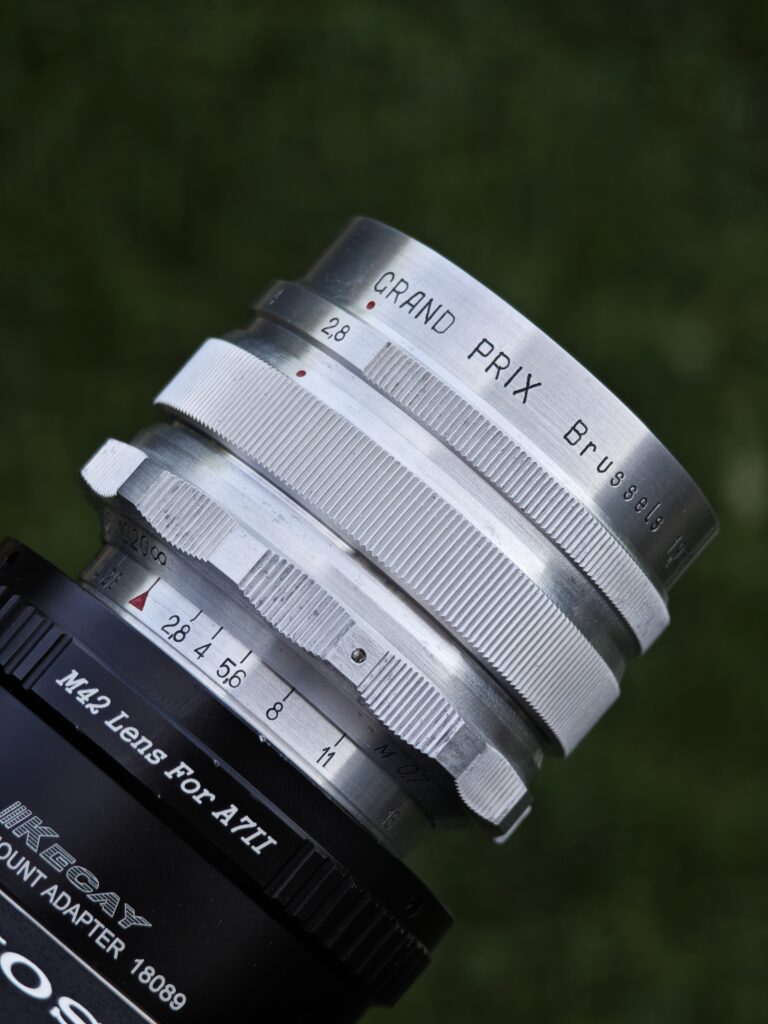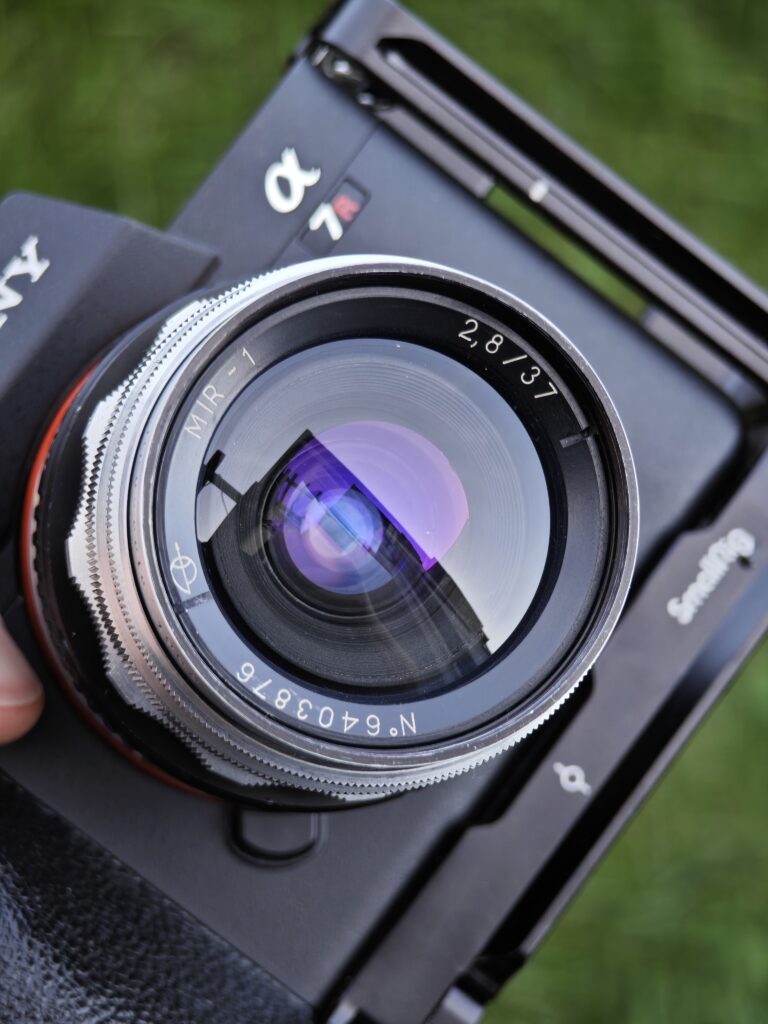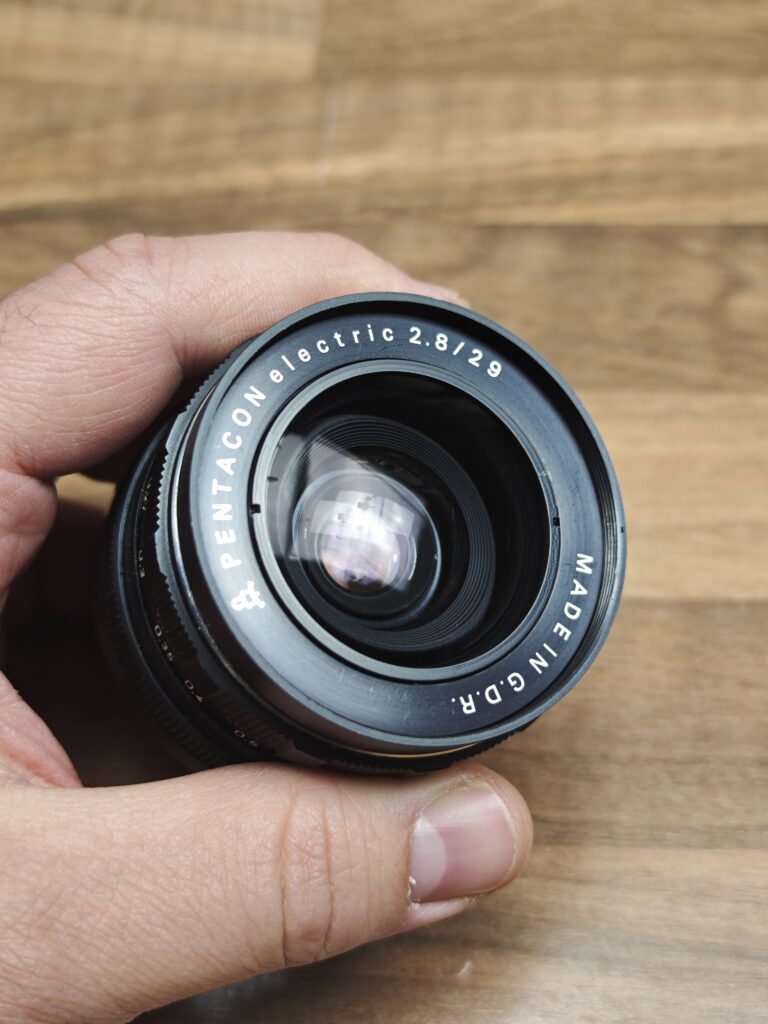
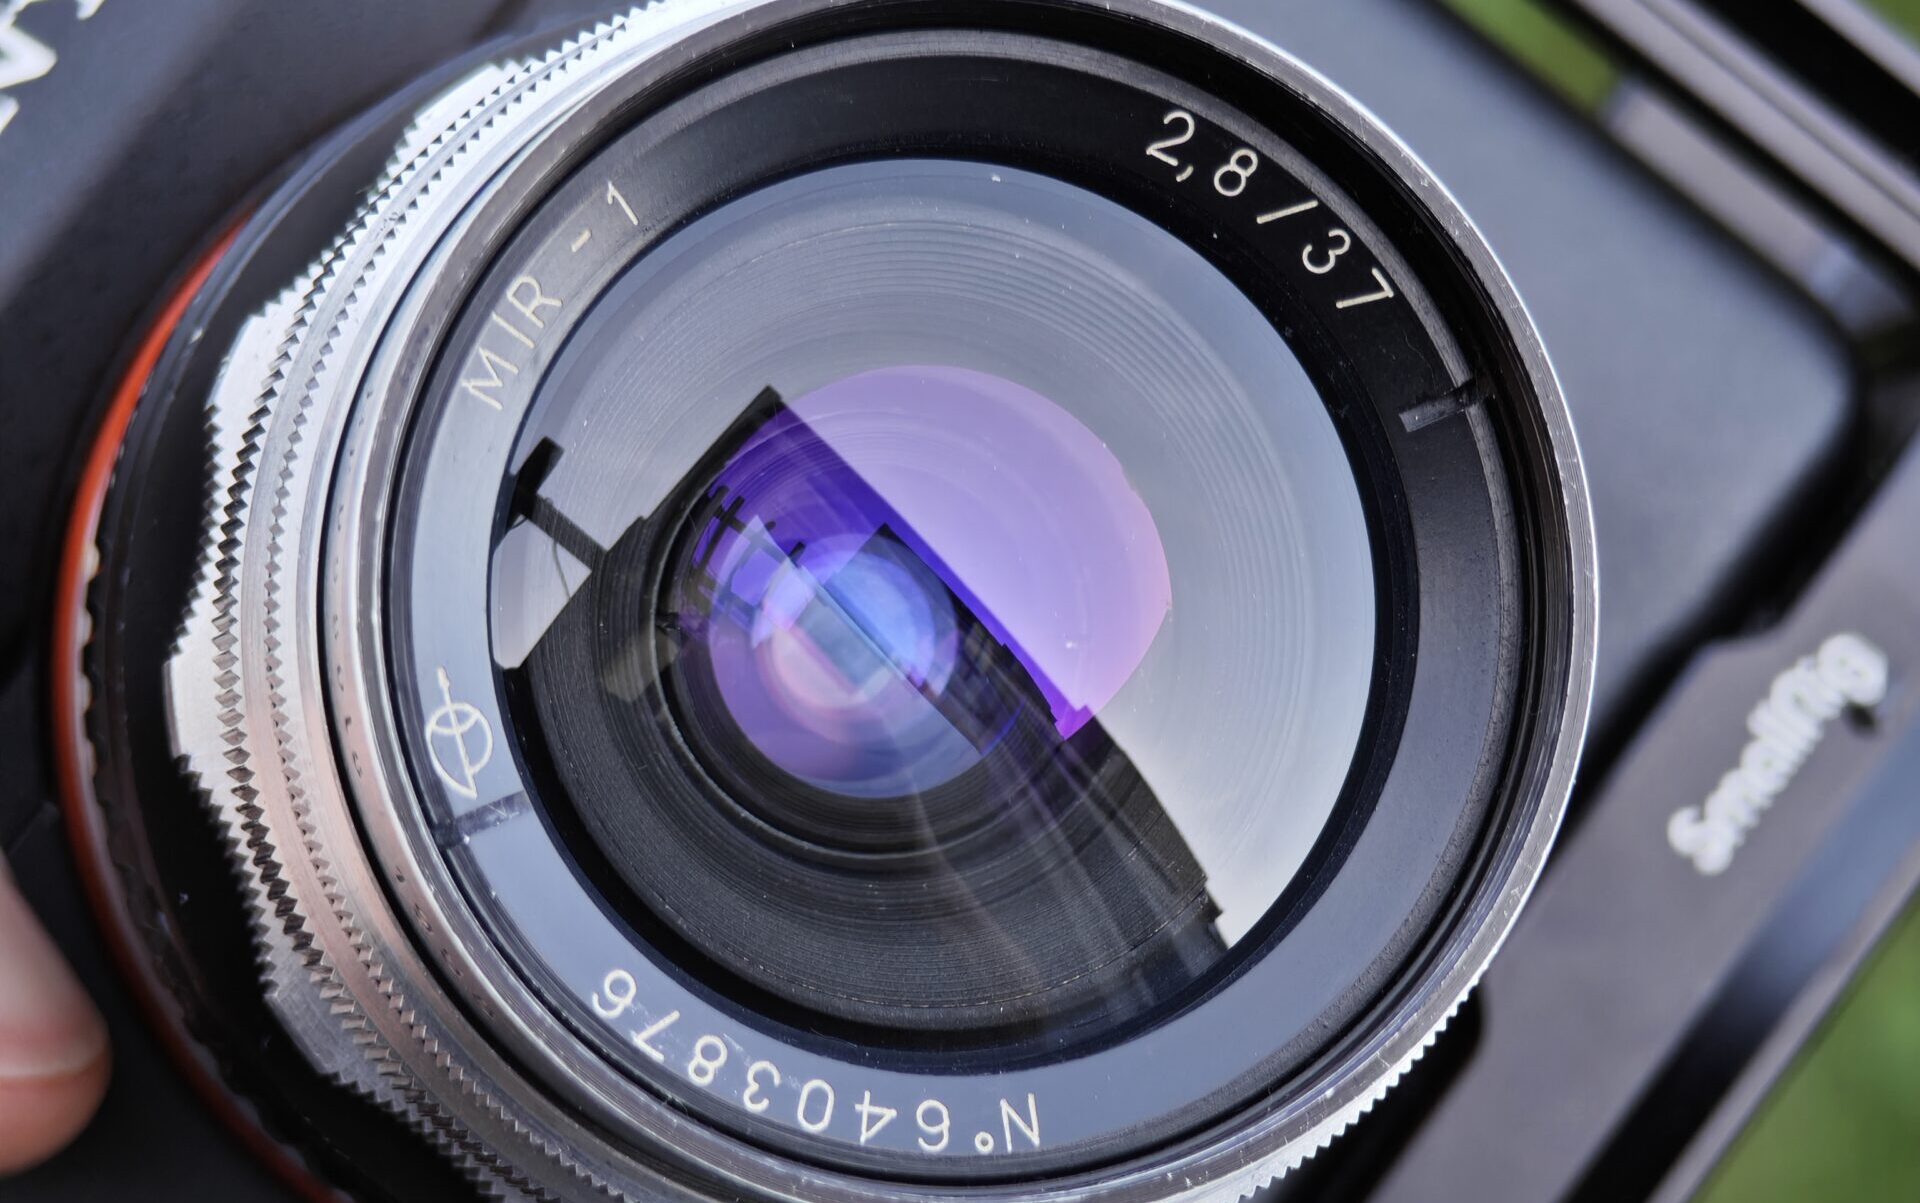
I received a neglected and stiff MIR-1 37mm 2.8 Grand Prix Edition in my workshop. My goal here is simple: restoring this beauty of a lens.
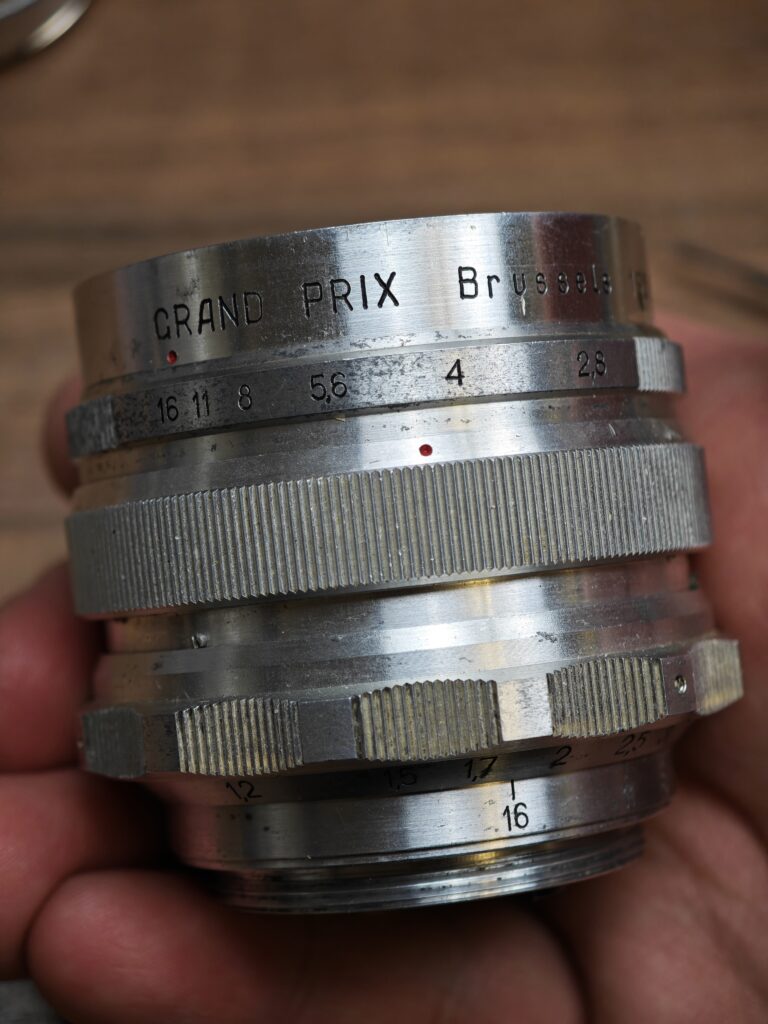
First things first: we need to separate the lens block from the helicoid. On the back of the lens, there is a tiny grub screw that holds the retaining ring in place. You will need to unscrew this to remove the ring. After the retaining ring is removed, seperate the optical block from the helicoid.
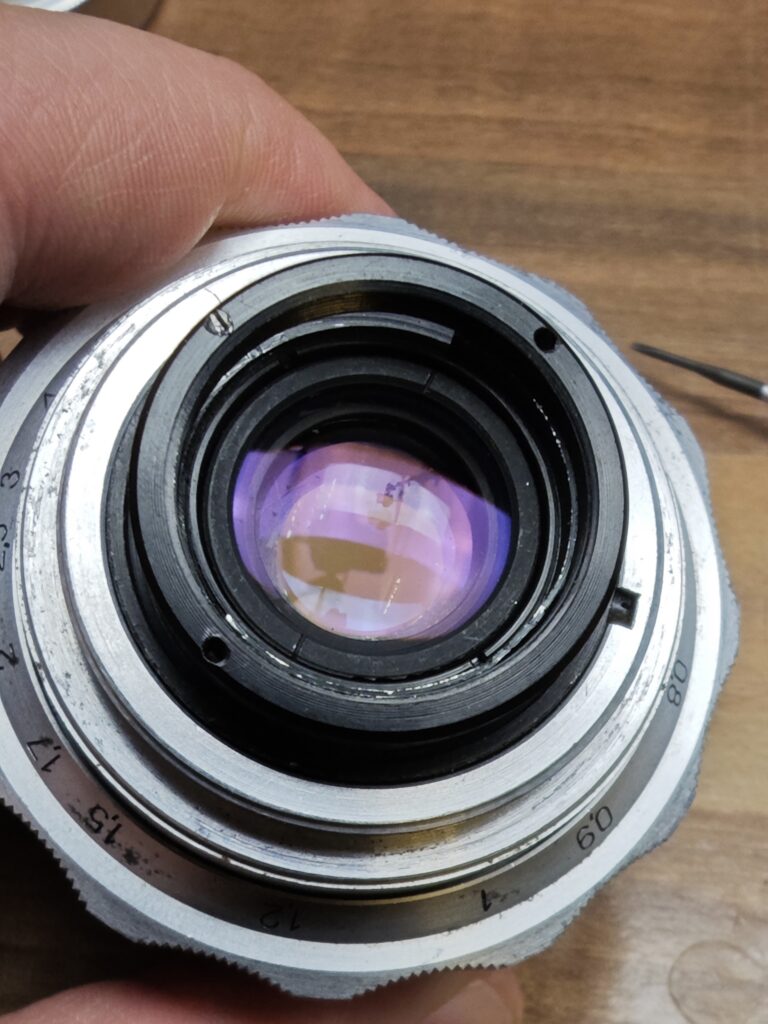
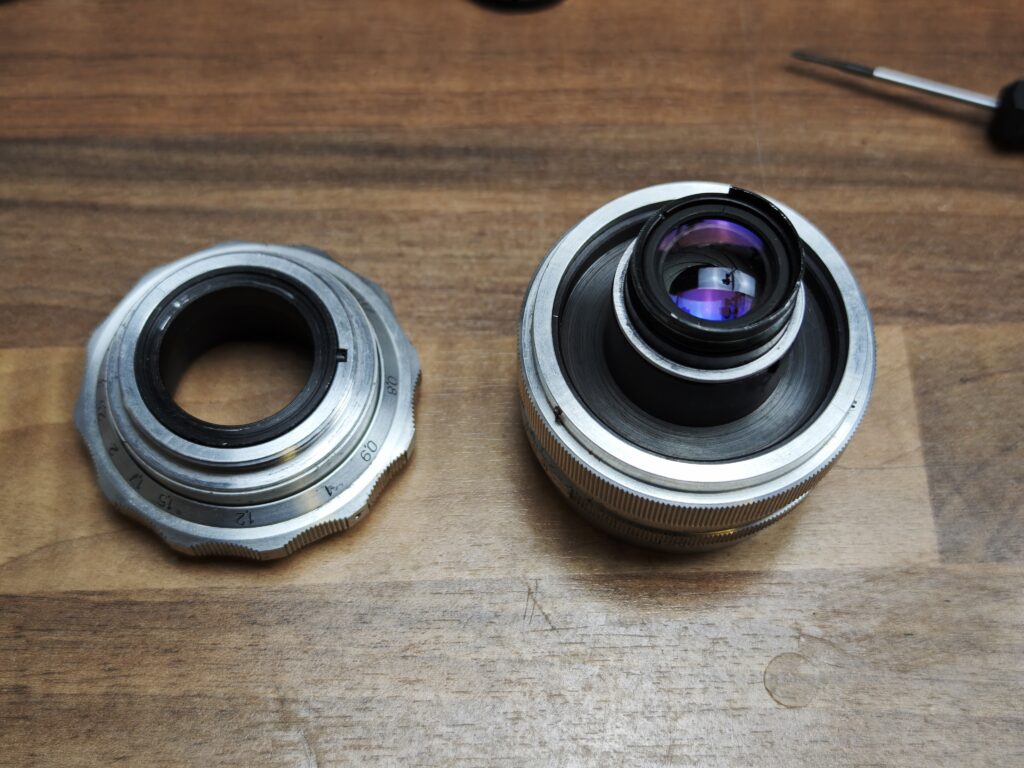
Don’t loose this spacer, it is responsible for the correct infinity adjustment.
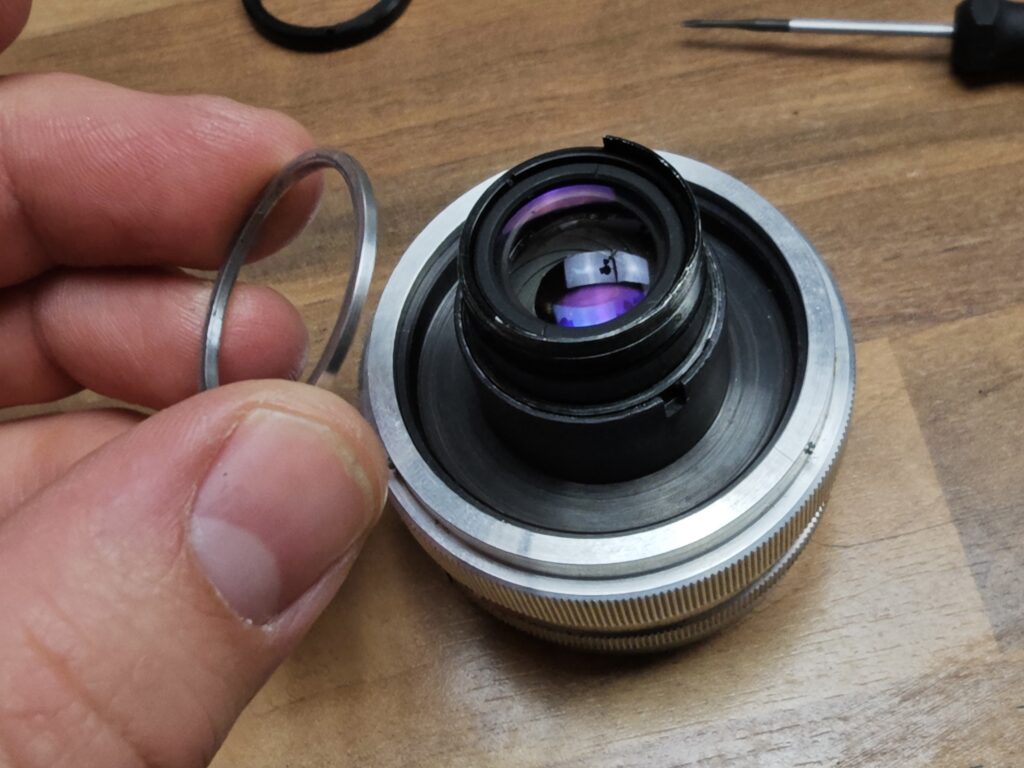
Remove the grub screws holding the first apeture ring.
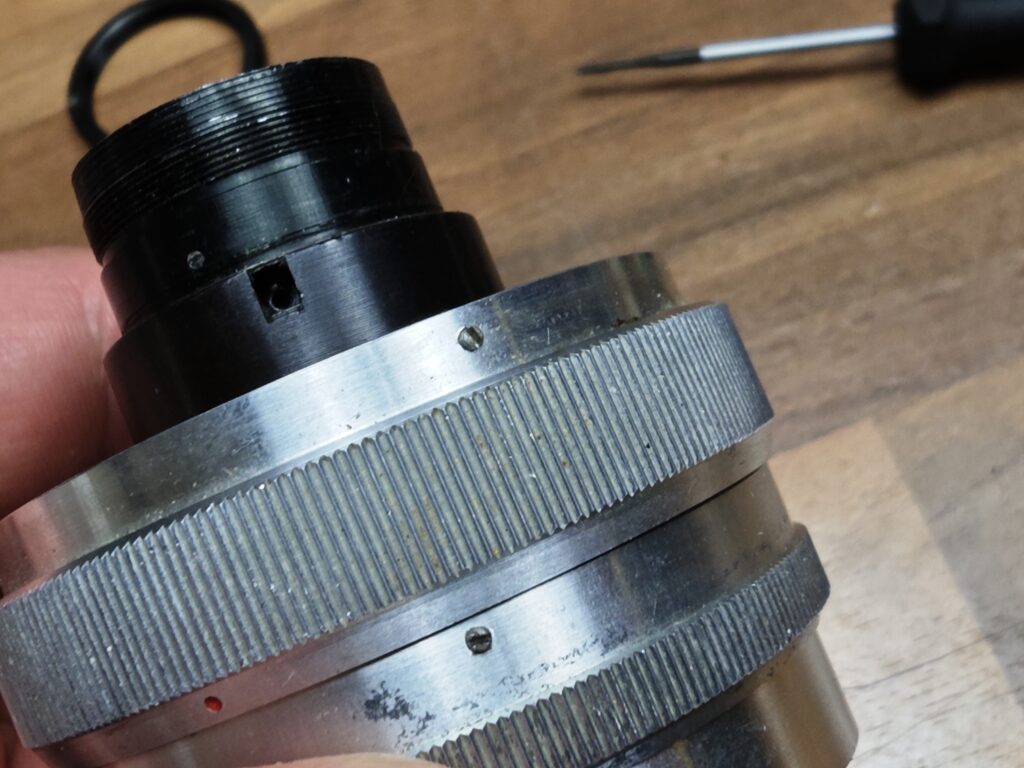
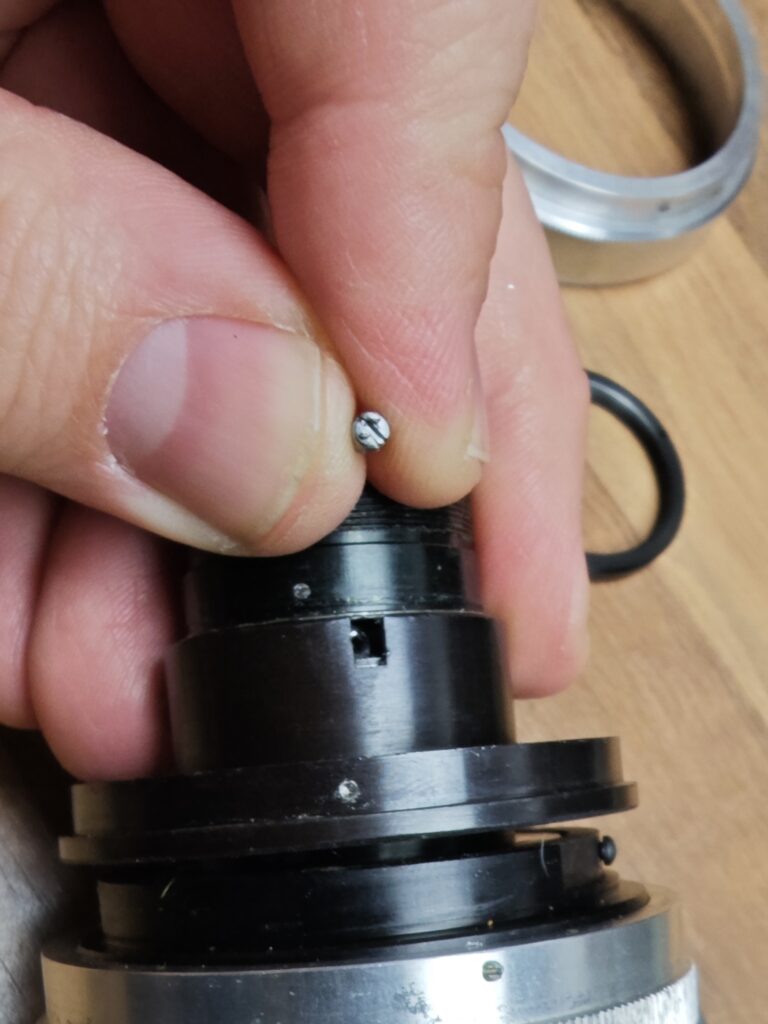
Now that the ring is removed, you can see the aperture click mechanism. Unscrew the two screws and remove the metal clip.
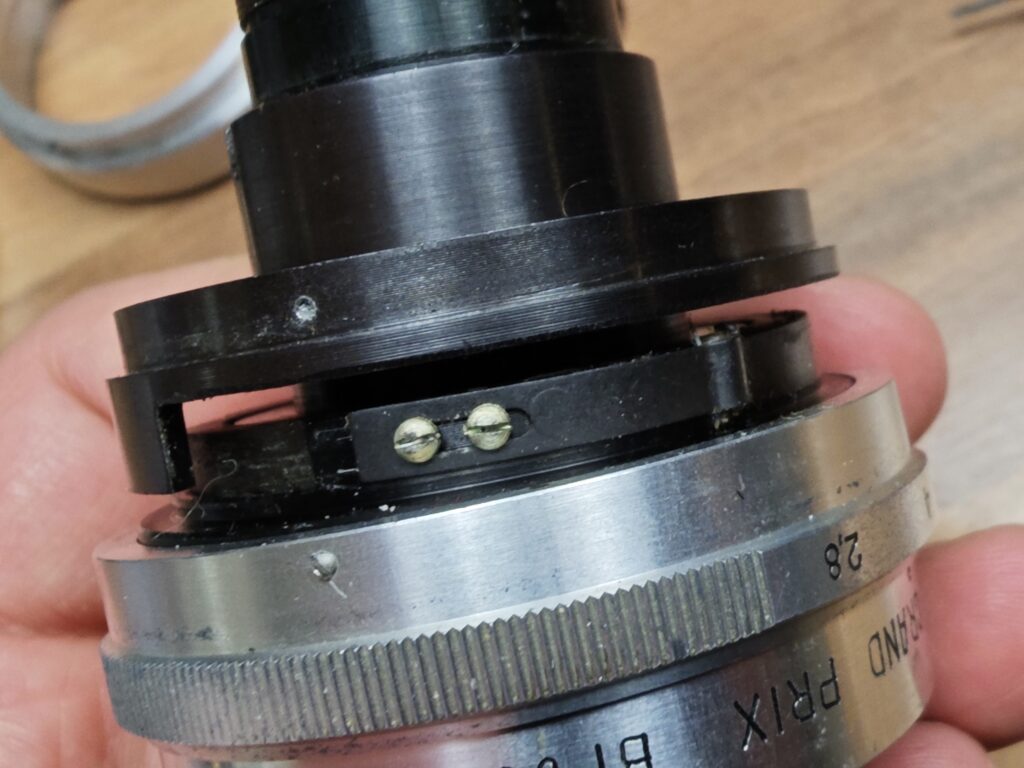
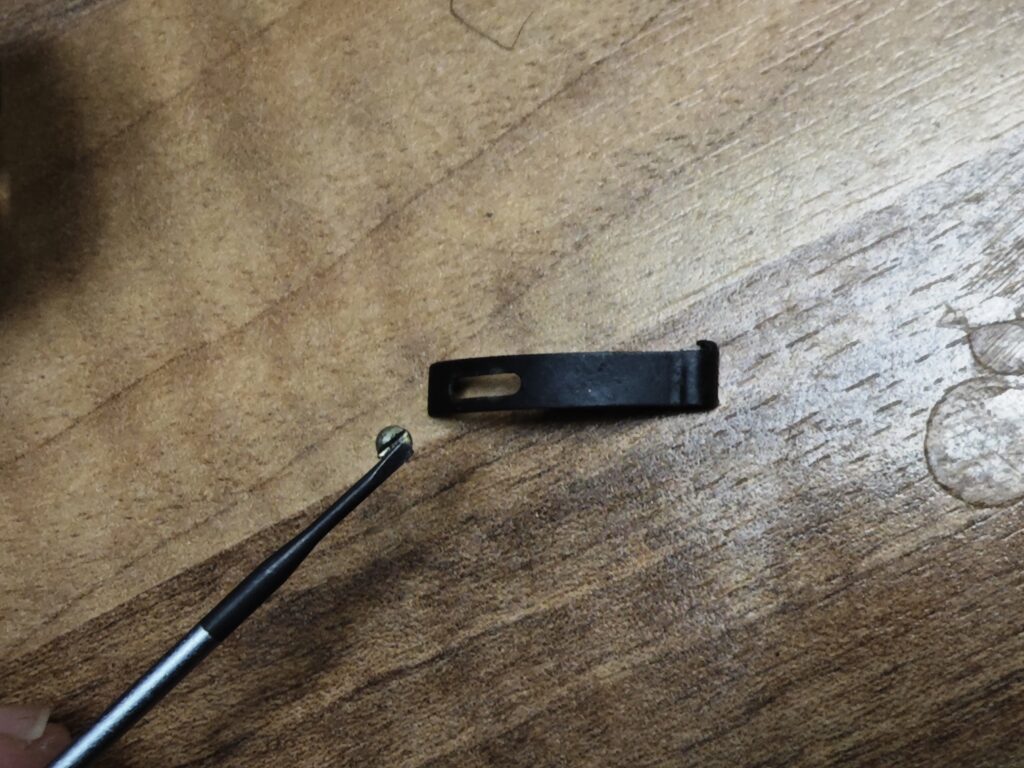
Underneath is a metal piece, responsible for the clicks. Do not loose it.
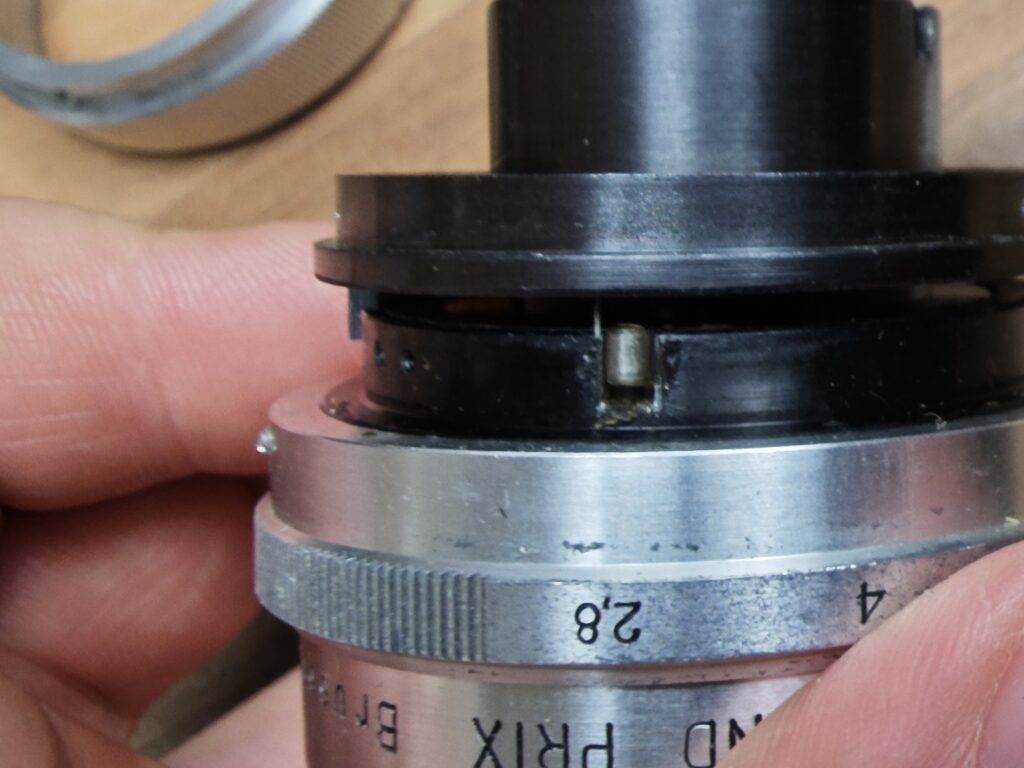
After the metal clip is removed, you can remove the first part of the apeture mechanism. Please remember how often you turned the ring to unscrew it. On mine, it was 12 times.
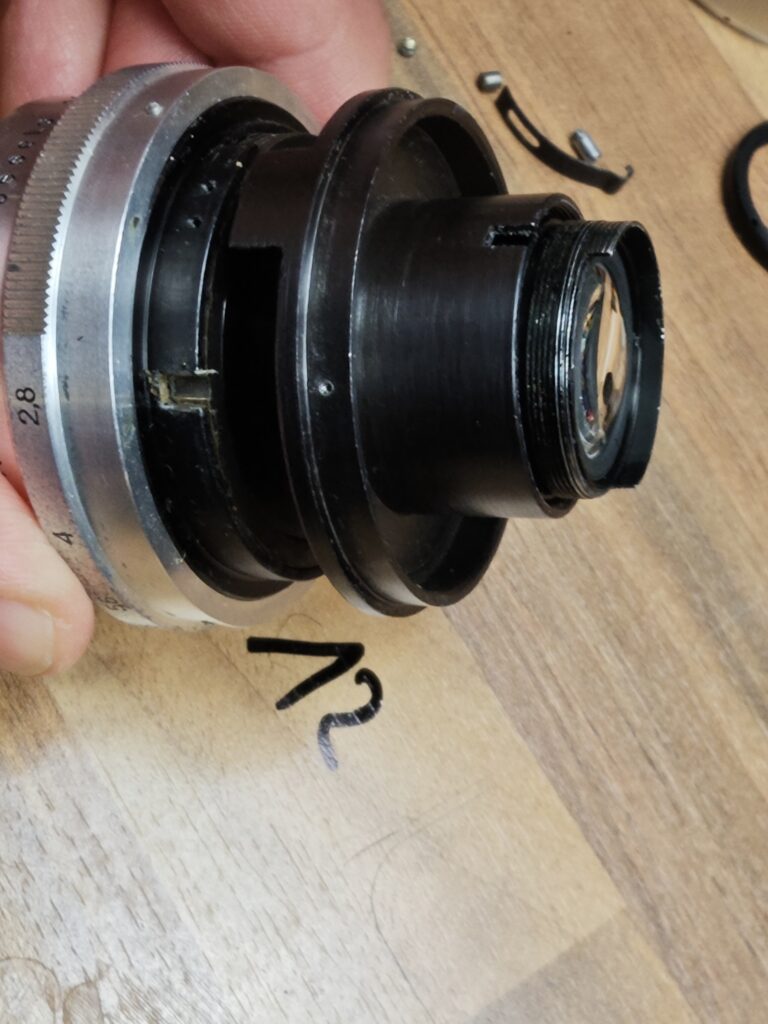
Remove this screw to remove the second apeture mechanism. I also unscrewed the grubs screws holding the outer ring.
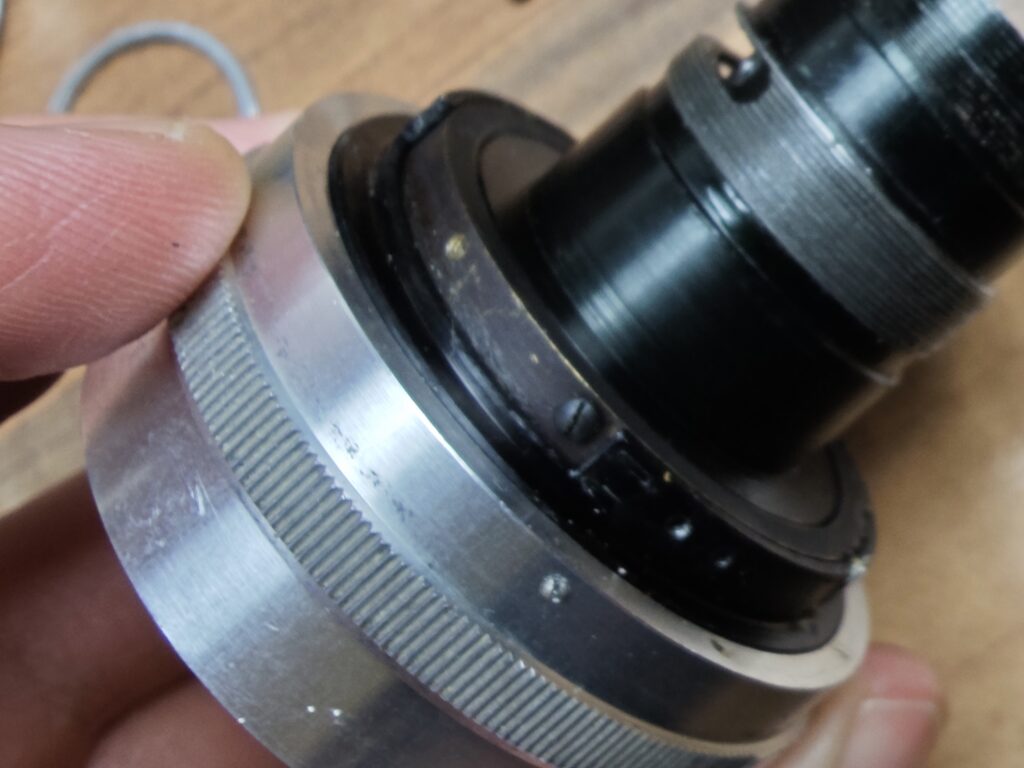
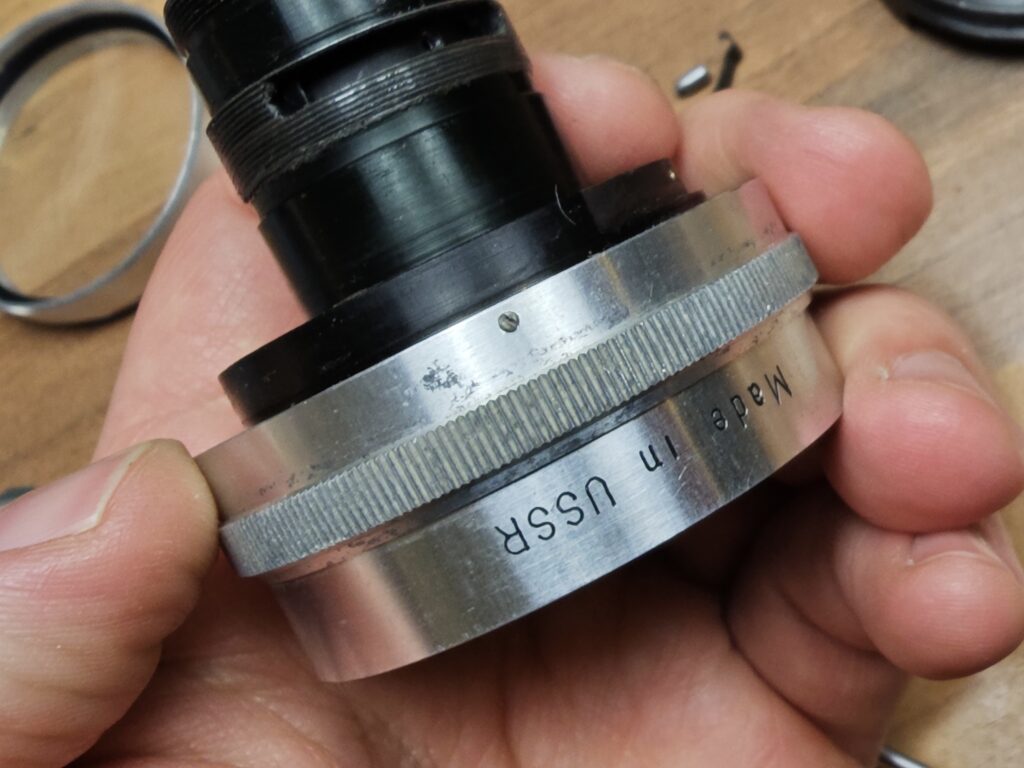
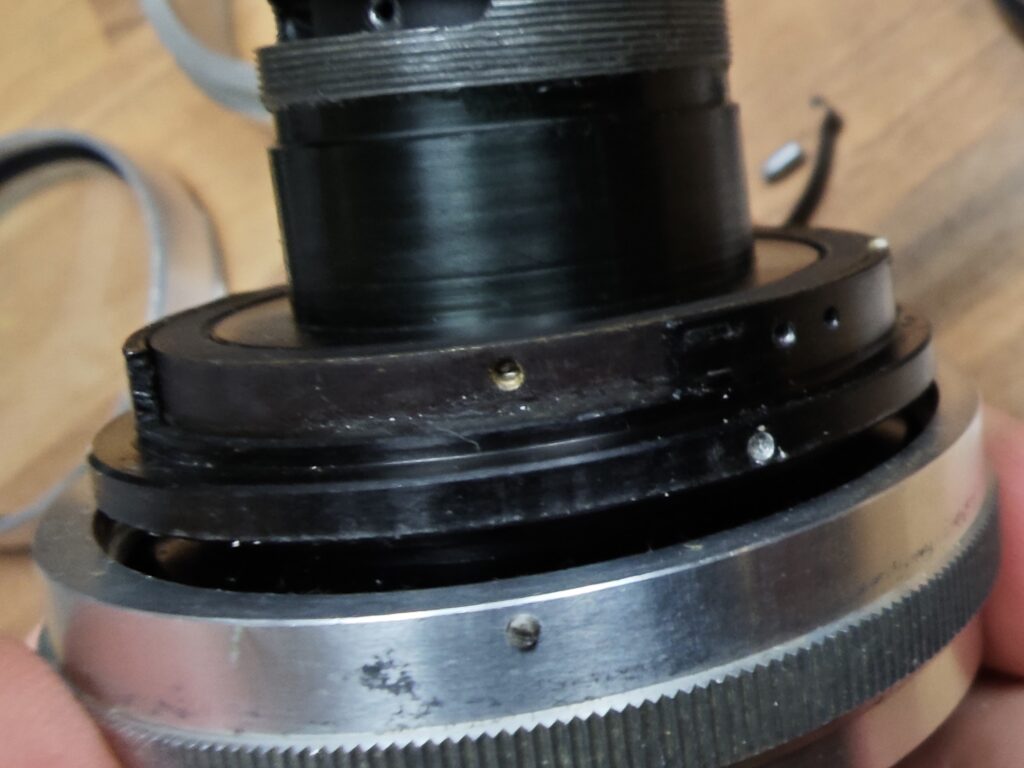
Make notes on the amount of turns you needed. On mine, 5.
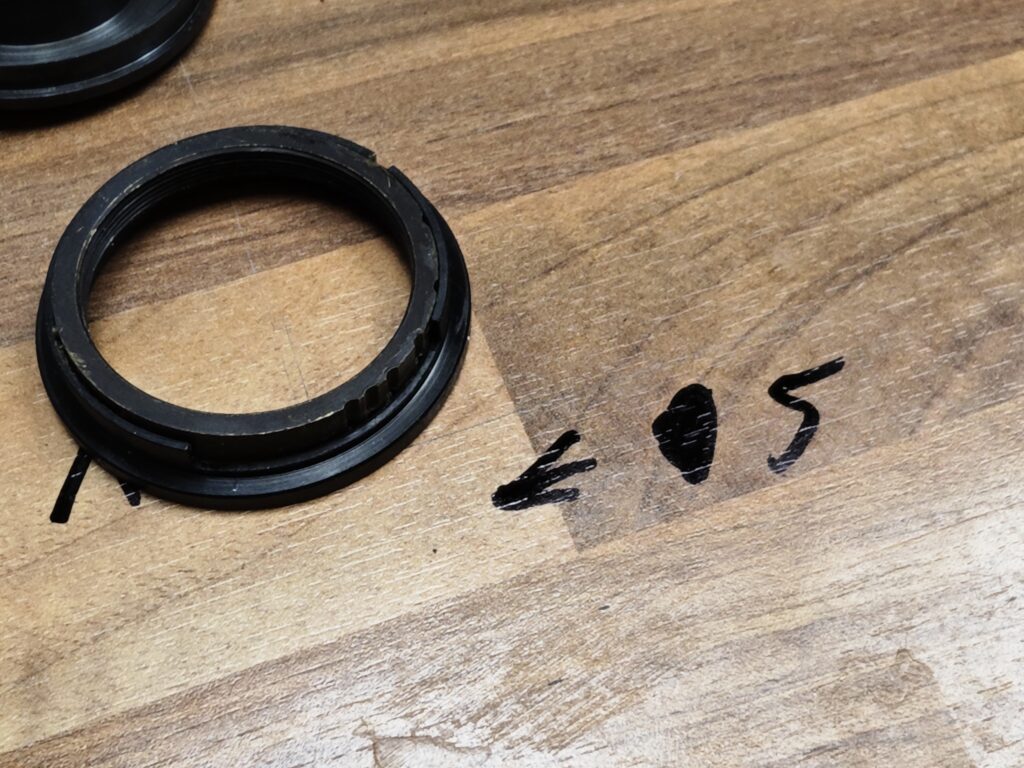
The second aperture mechanism is mounted on this ring, where you can also see the old, stiff grease. Unscrew the grub screw and remove the ring. On mine, it took 12 turns.
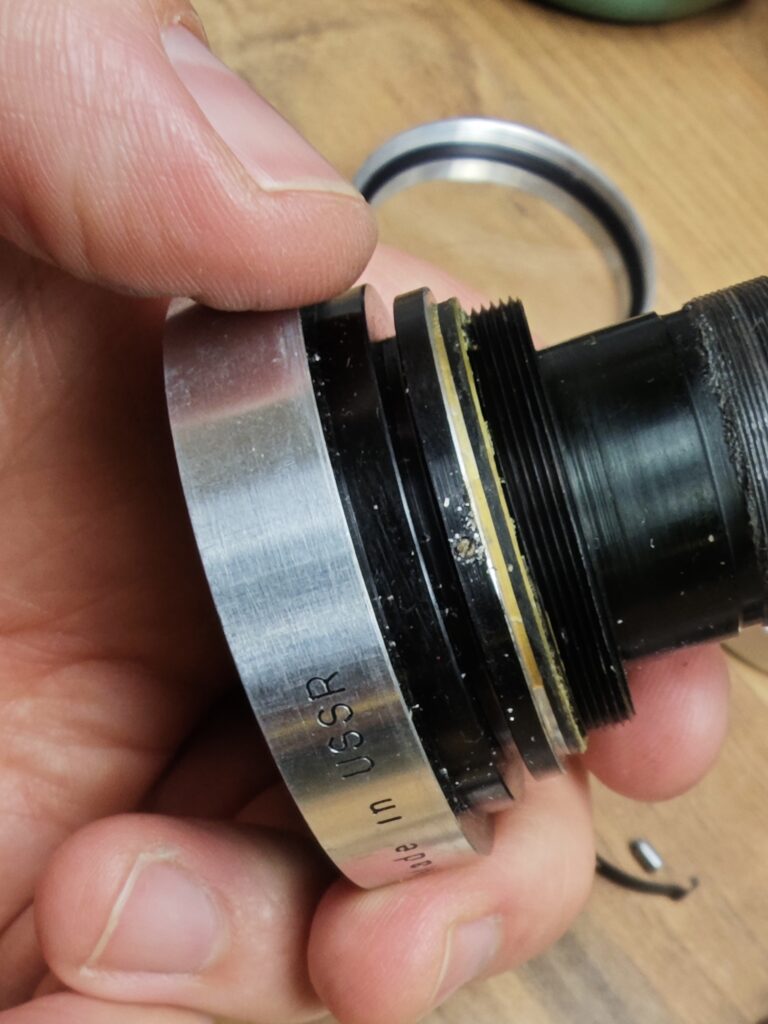
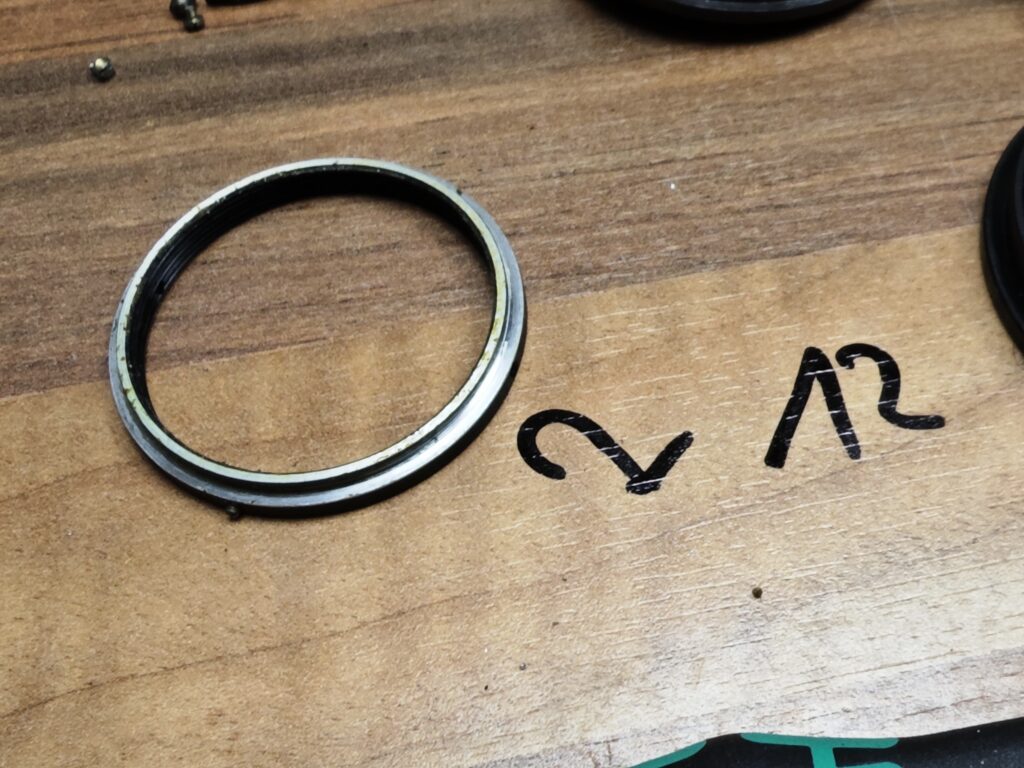
With everything mechanical removed, we now move to the optical part. If you only want to regrease the aperture mechanism, follow the previous steps in reverse. If you want to know how to remove the glass elements as well, keep reading. The helicoid will be disassembled after the optical part.
Get your lens spanner and remove the rear element.
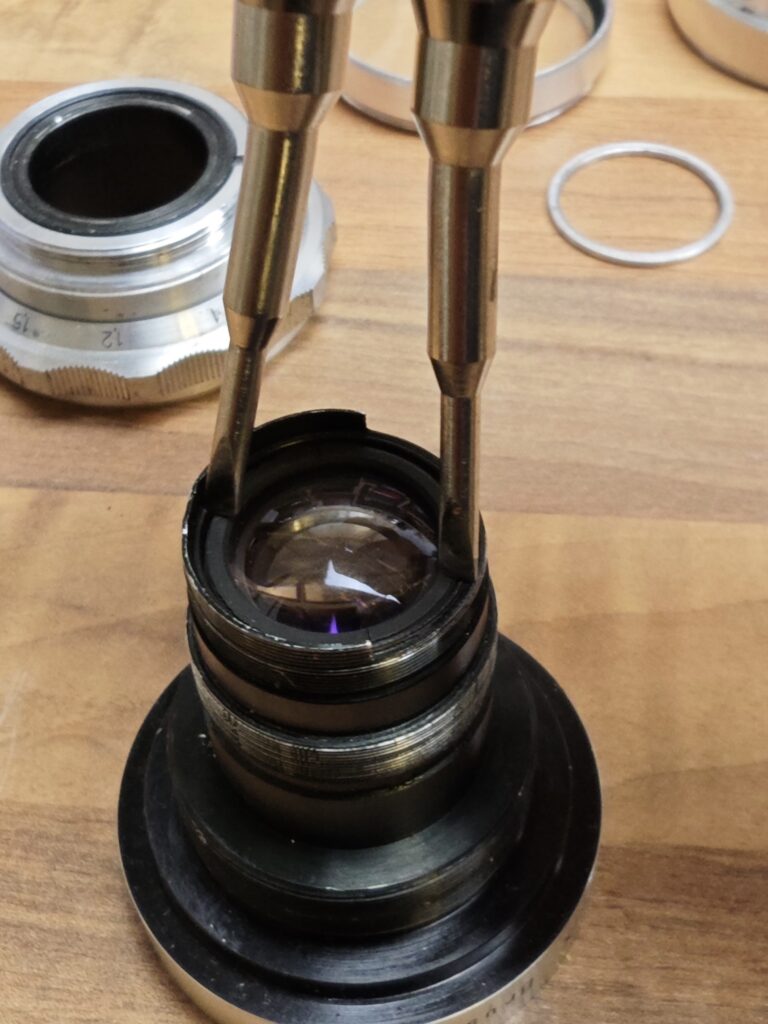
The next inner element is pressed in. If your lens suction cup does not work, either gently tap the lens until the element is loosend, or skip to the front of the lens and push gently from the other side.
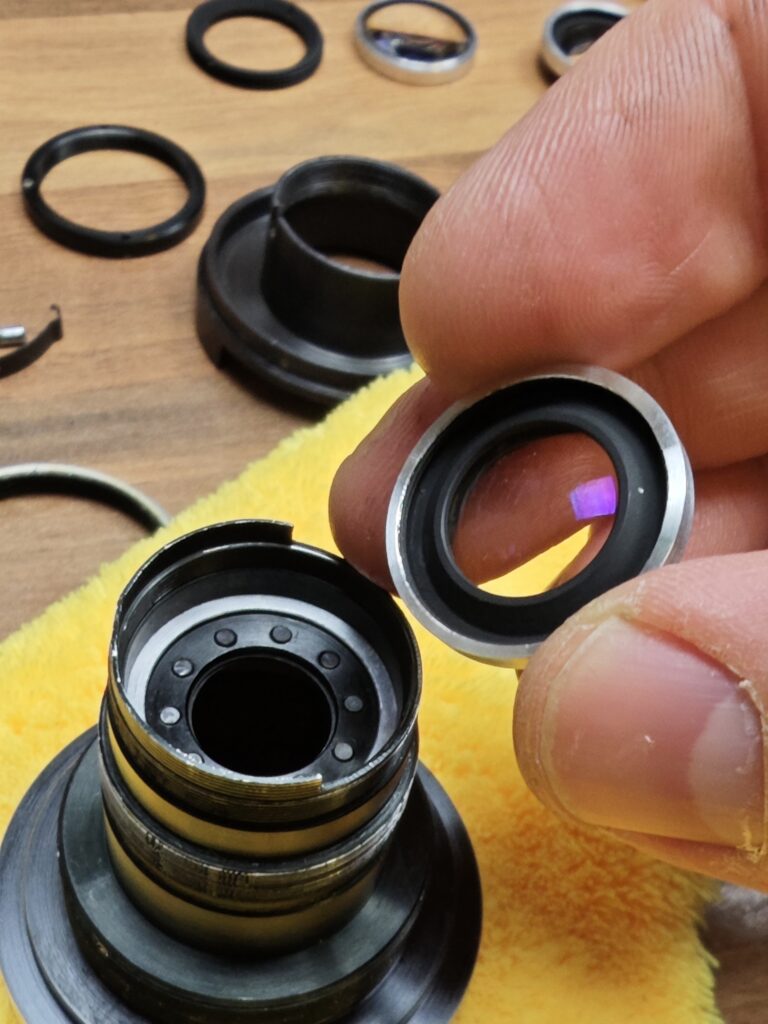
Either use your lens spanner or your rubber tool to remove the front ring. Remove the front lens.
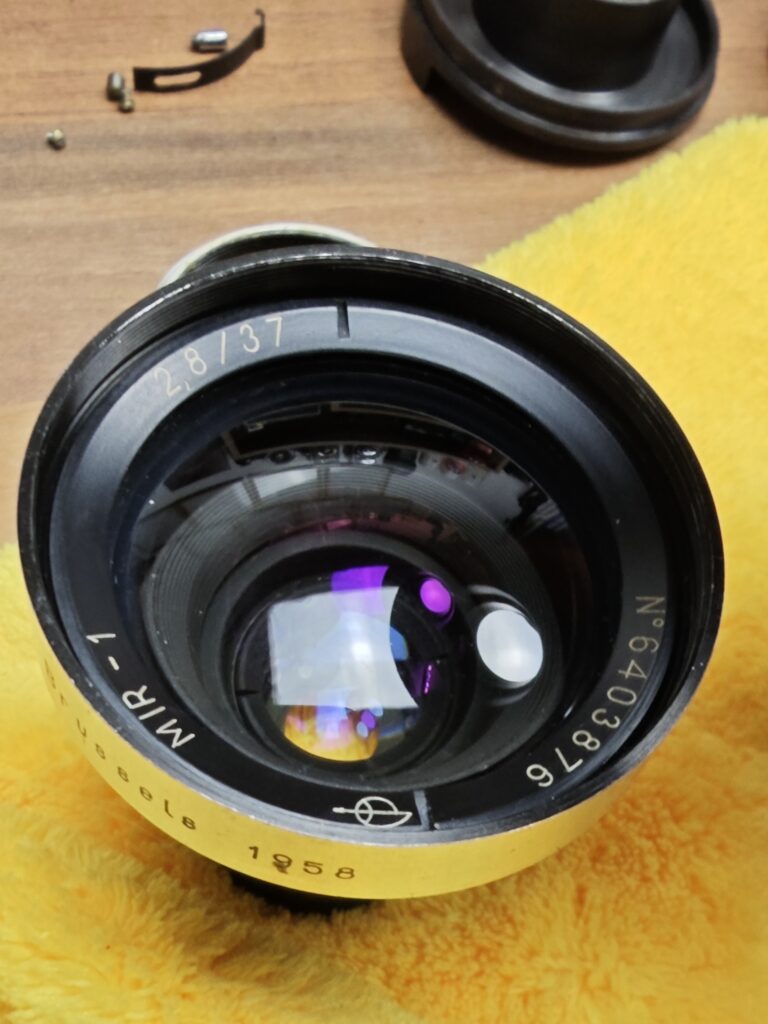
Same here, lens spanner tool, remove the inner lens.
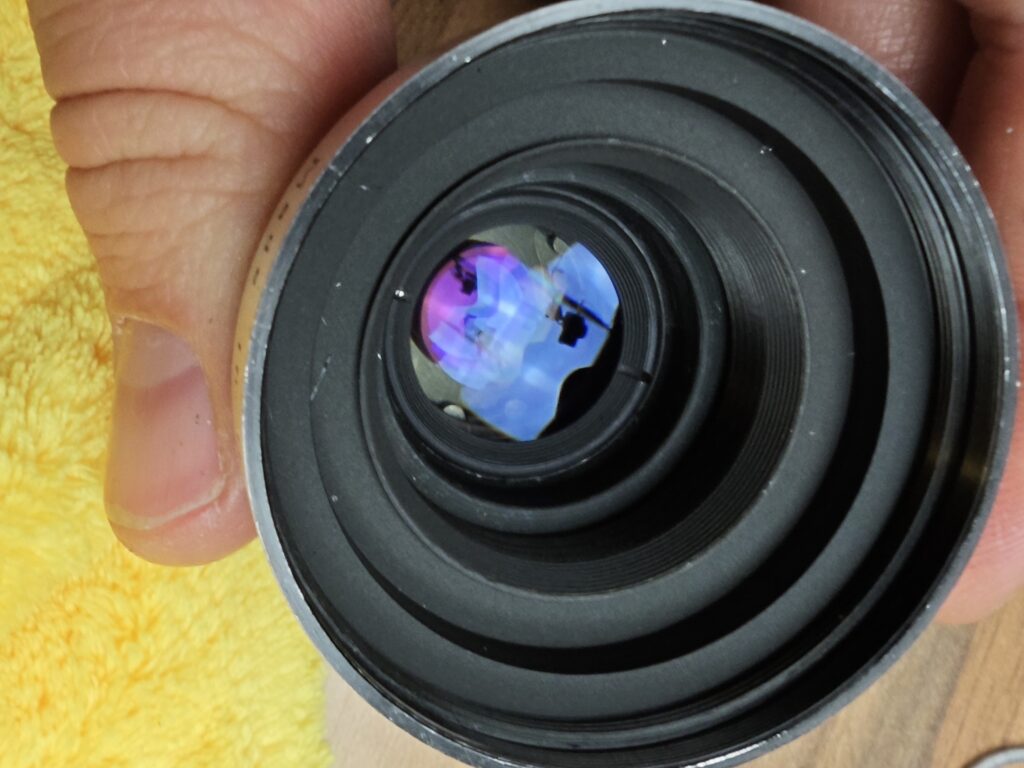
Now we could remove the apeture aswell. But mine was clean, so I did not bother.
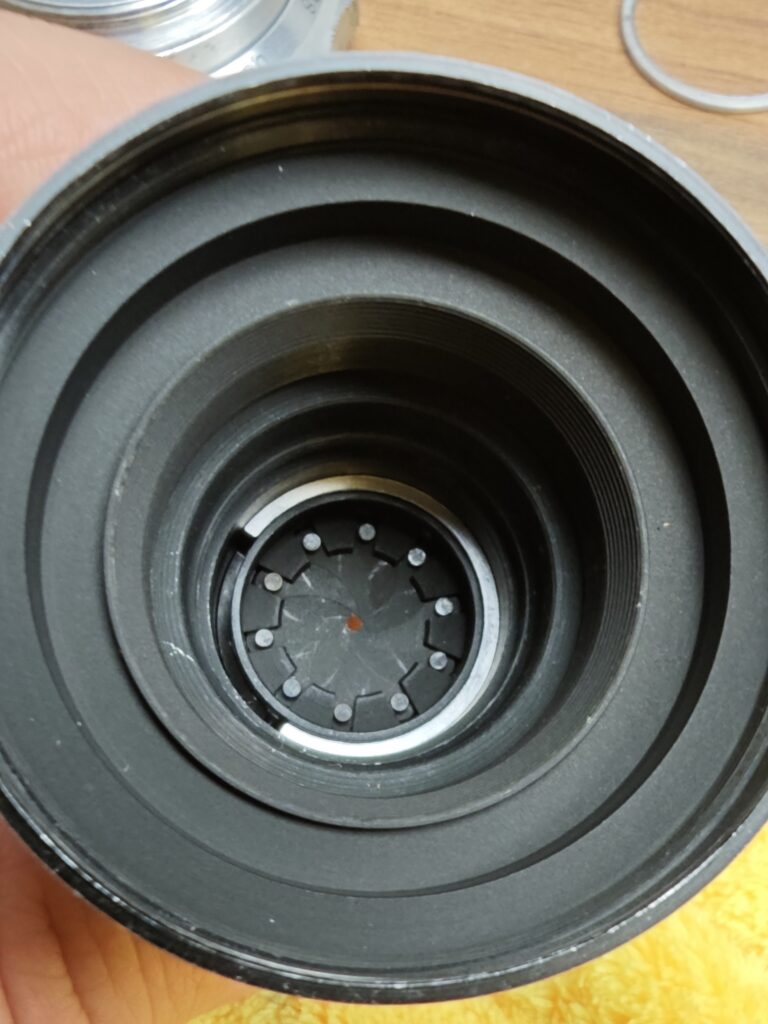
Now the restoring the outer shell.
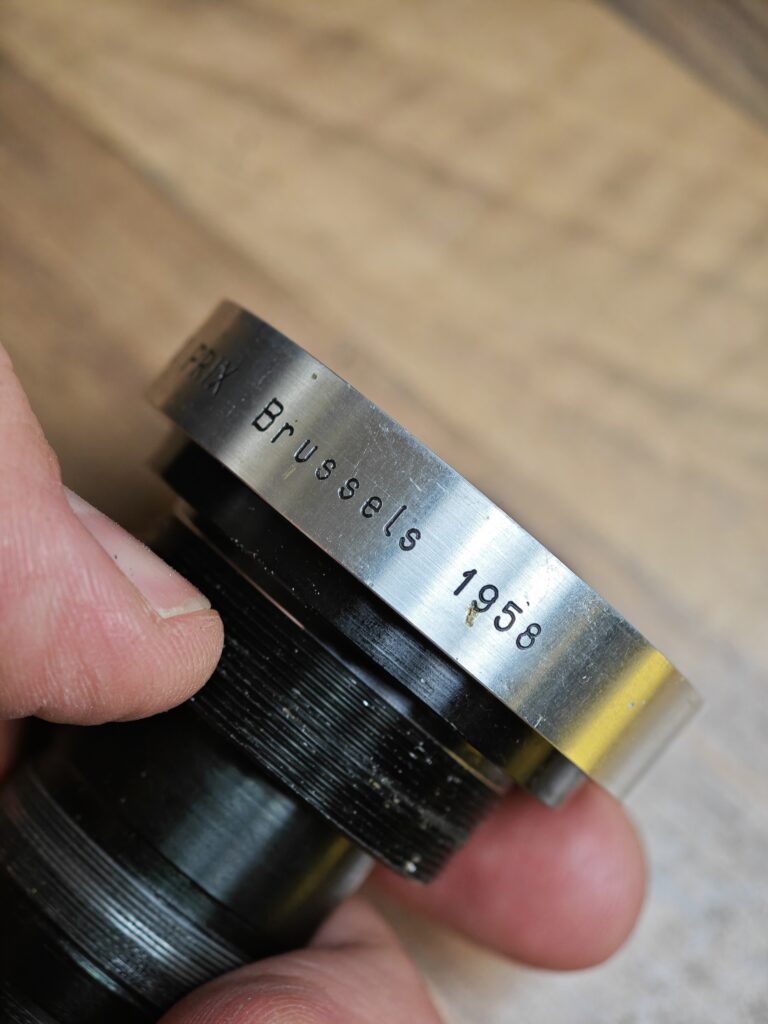
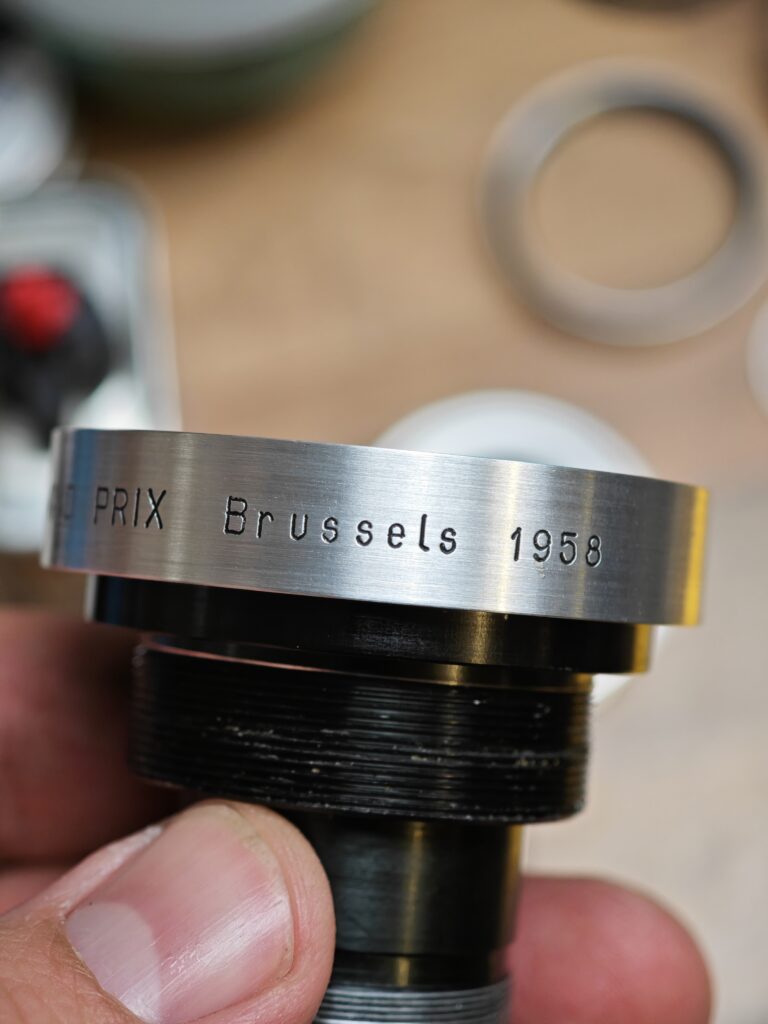
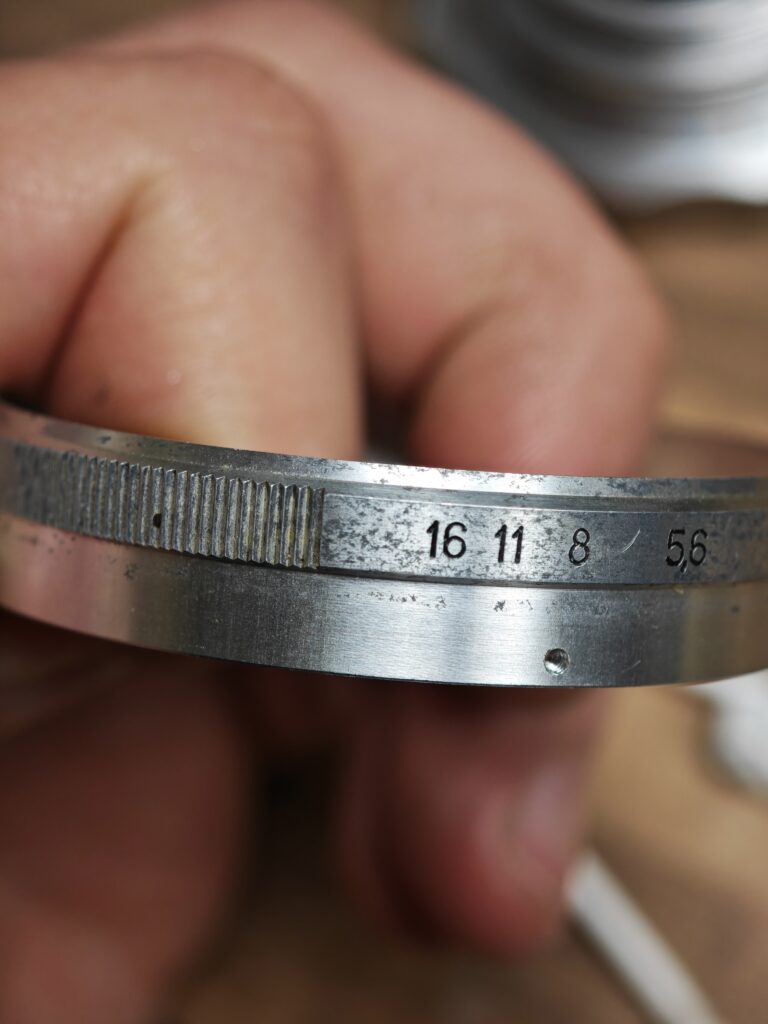
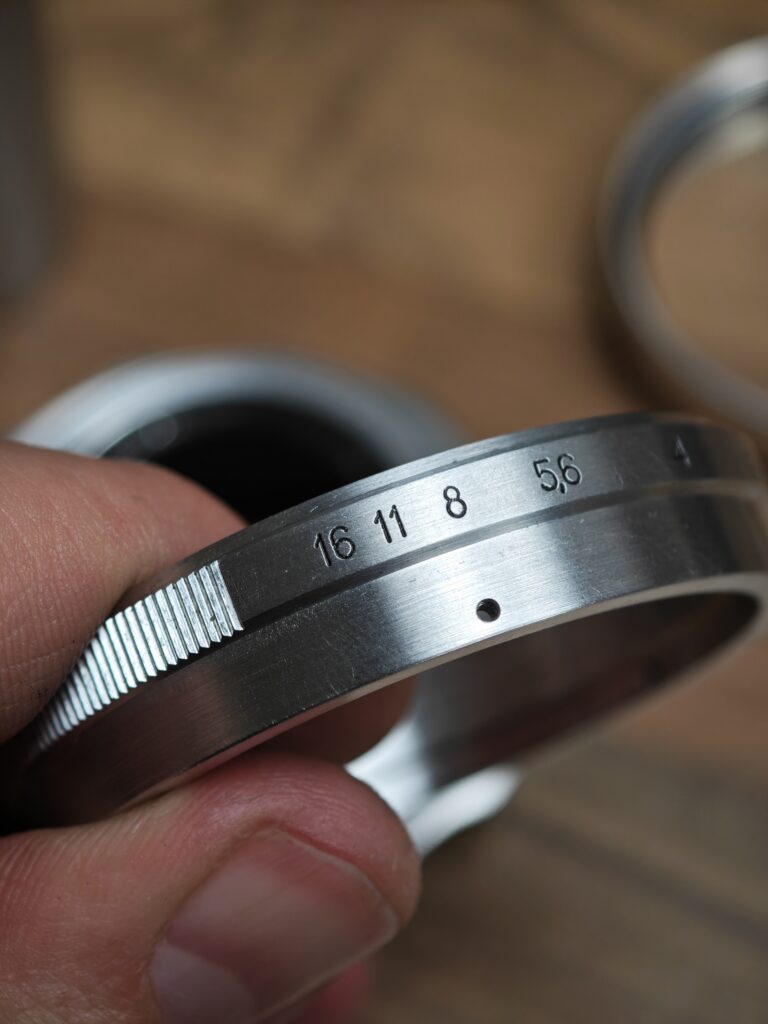
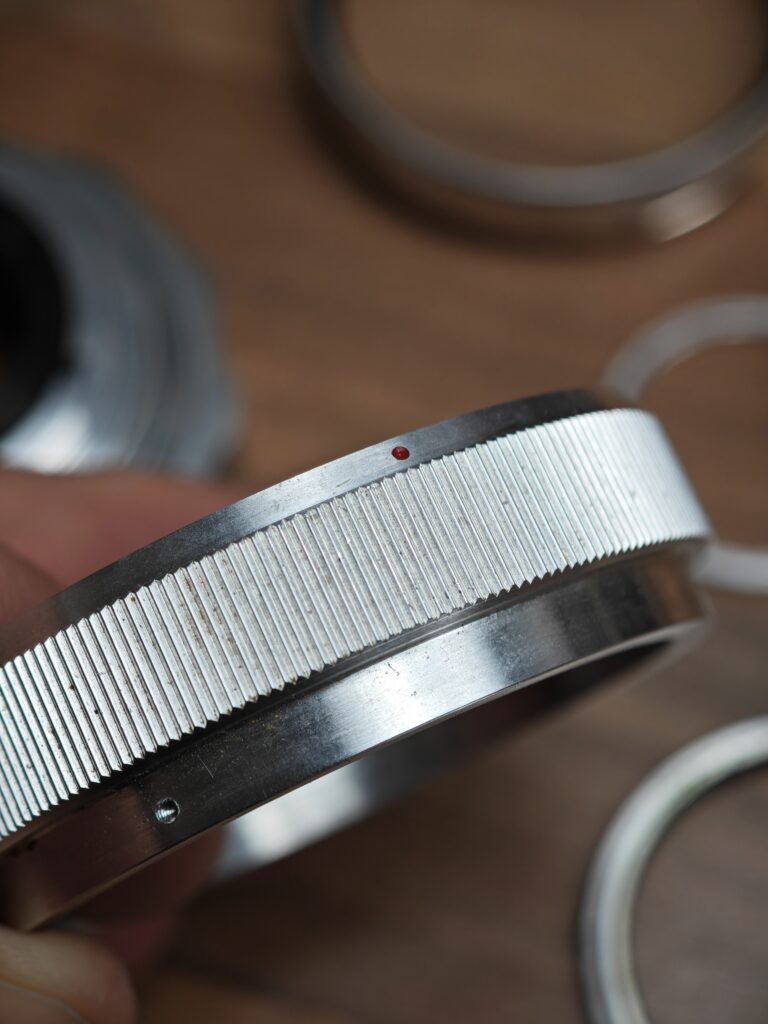
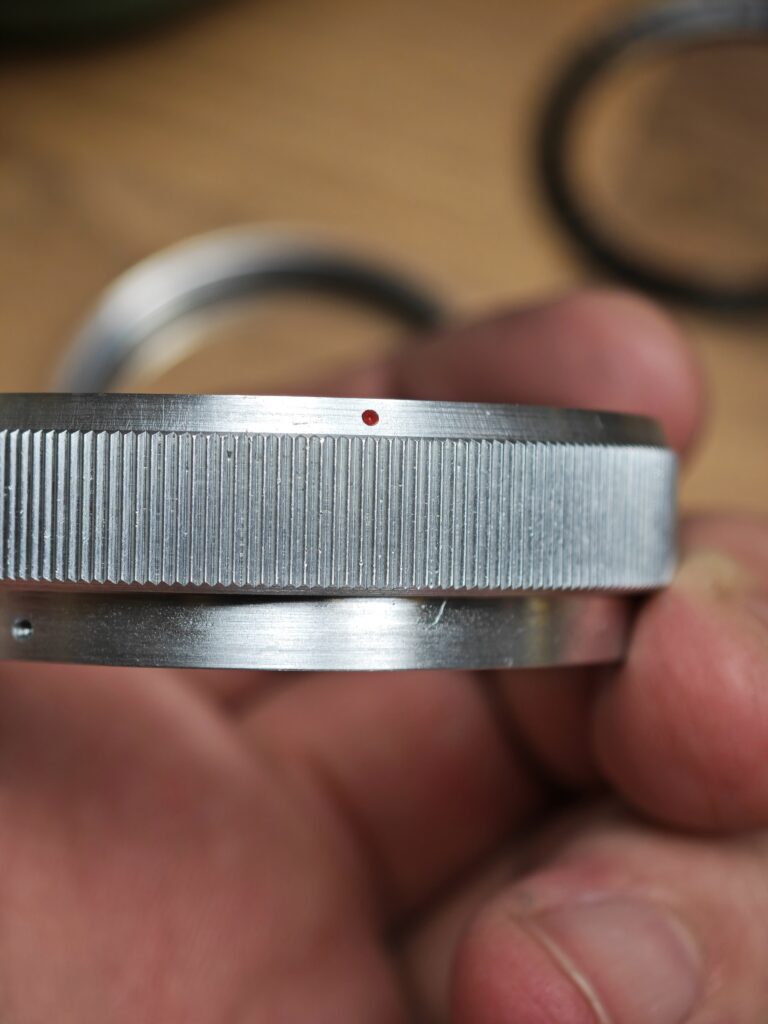
Now to the helicoid part. Please make markings. I usually mark the infinity position and where inner and outer helicoid seperate.
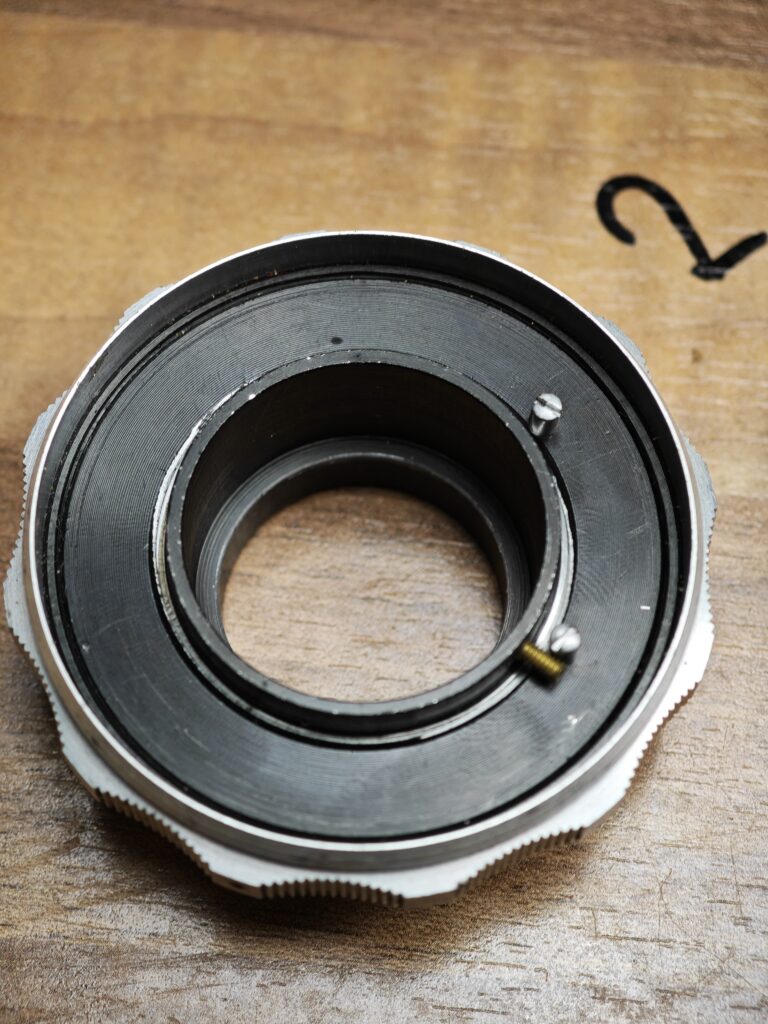
Remove the grub screws on the focusing ring, so that it can be removed.
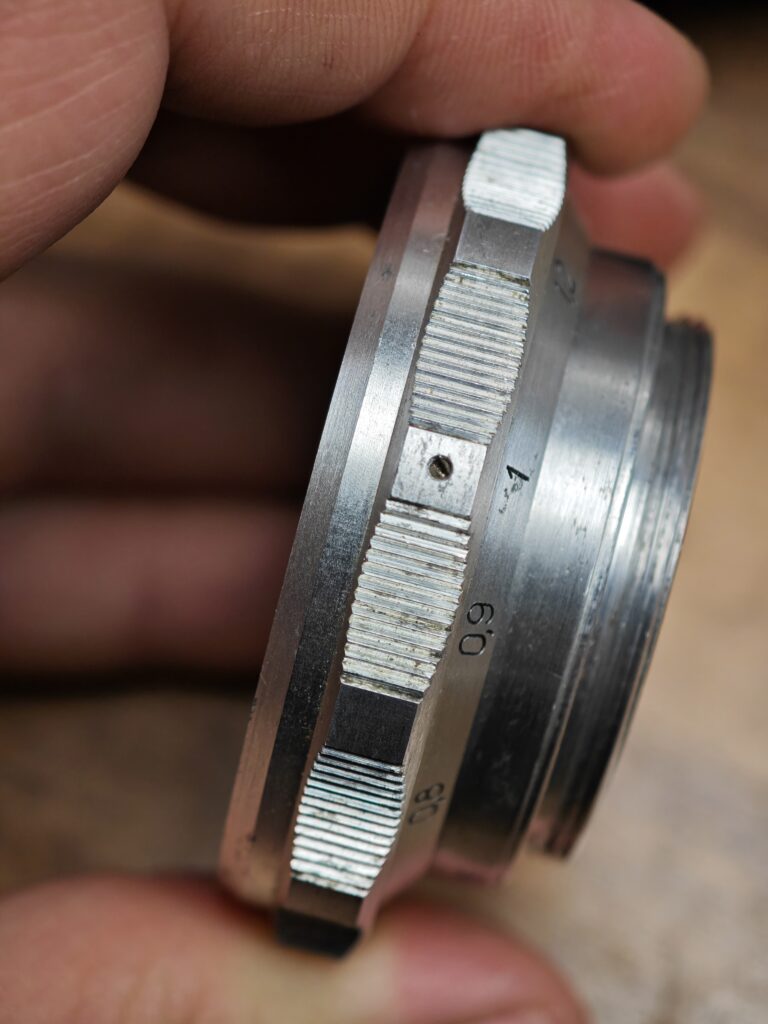
Unscrew the grub screw shown in the picture.
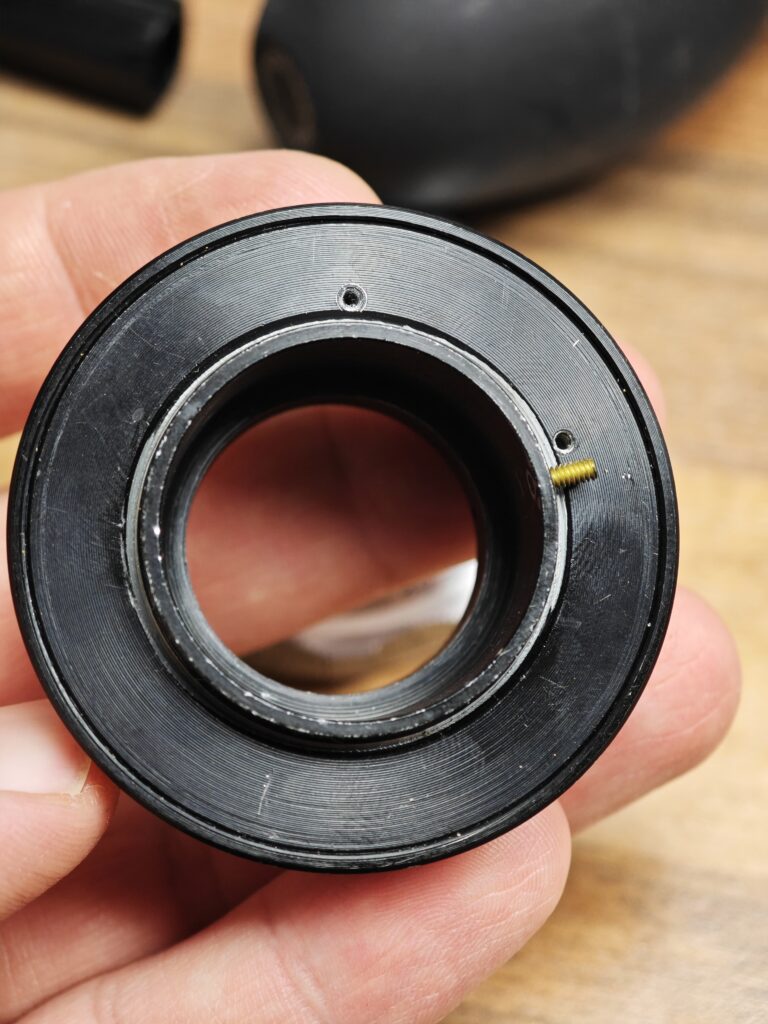
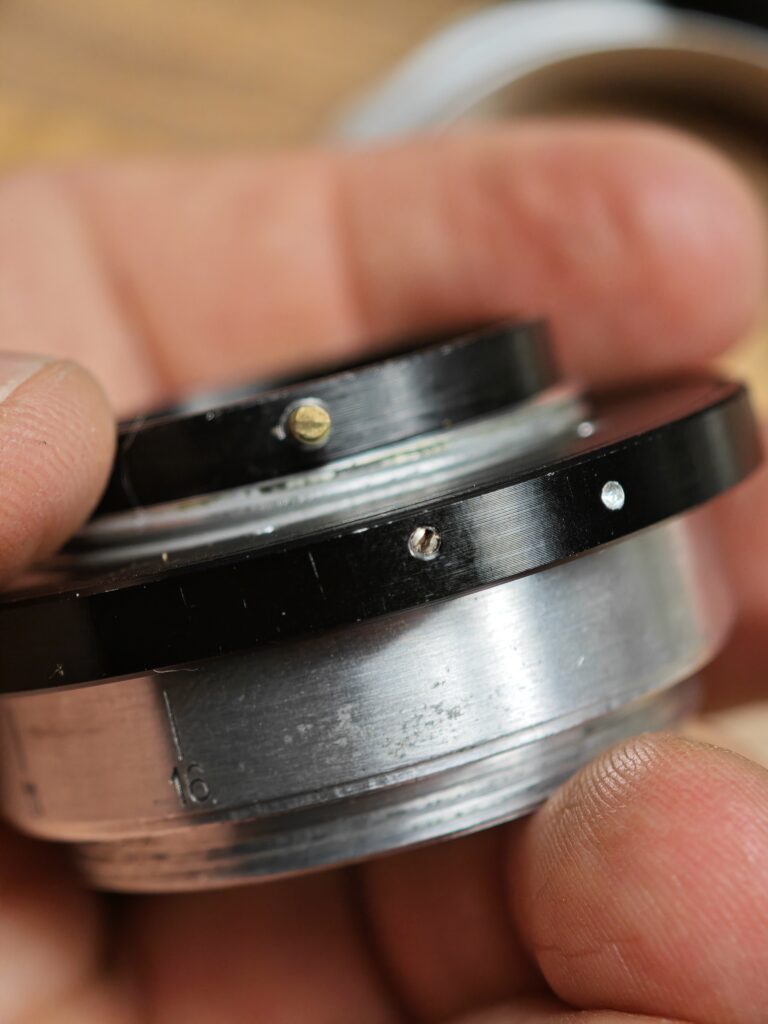
After removing the grub screw, use your spanner tool to open the assembly.
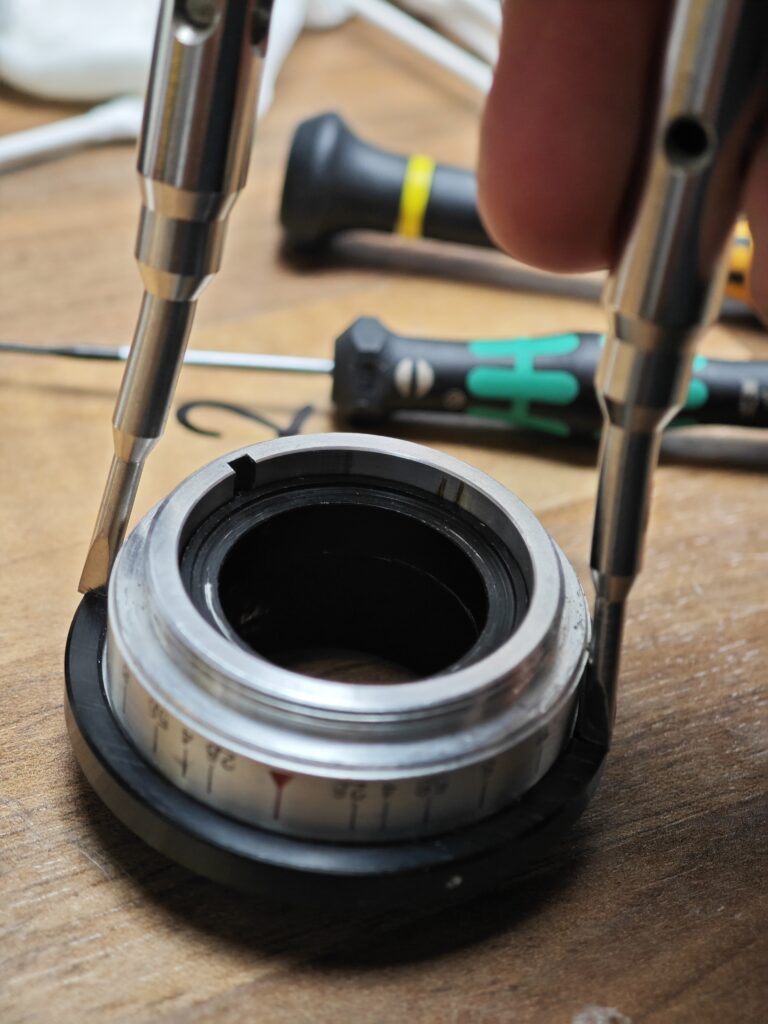
Remove the mount.
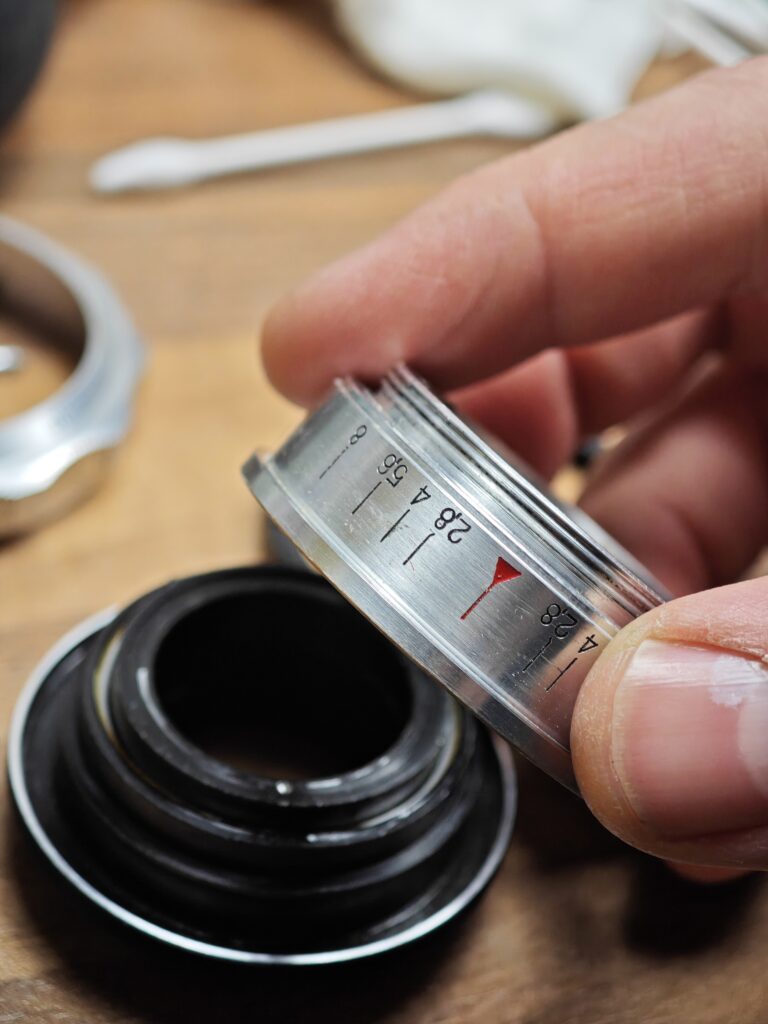
Seperate inner and outer heliocoid, please remember to make markings where they seperated.
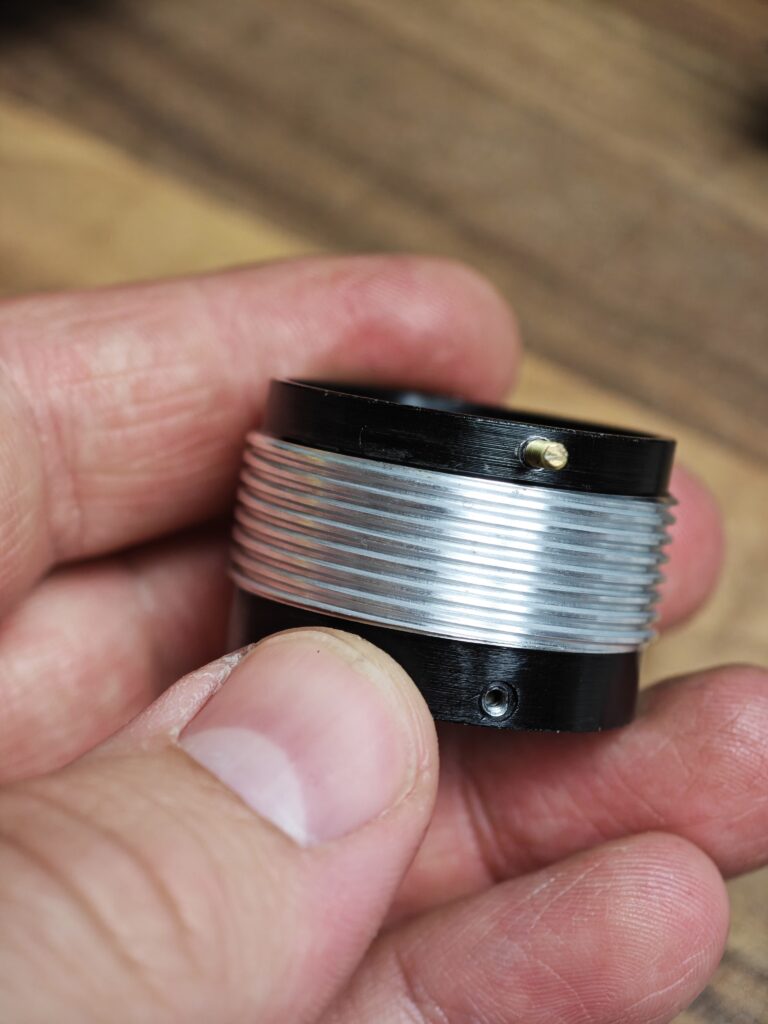
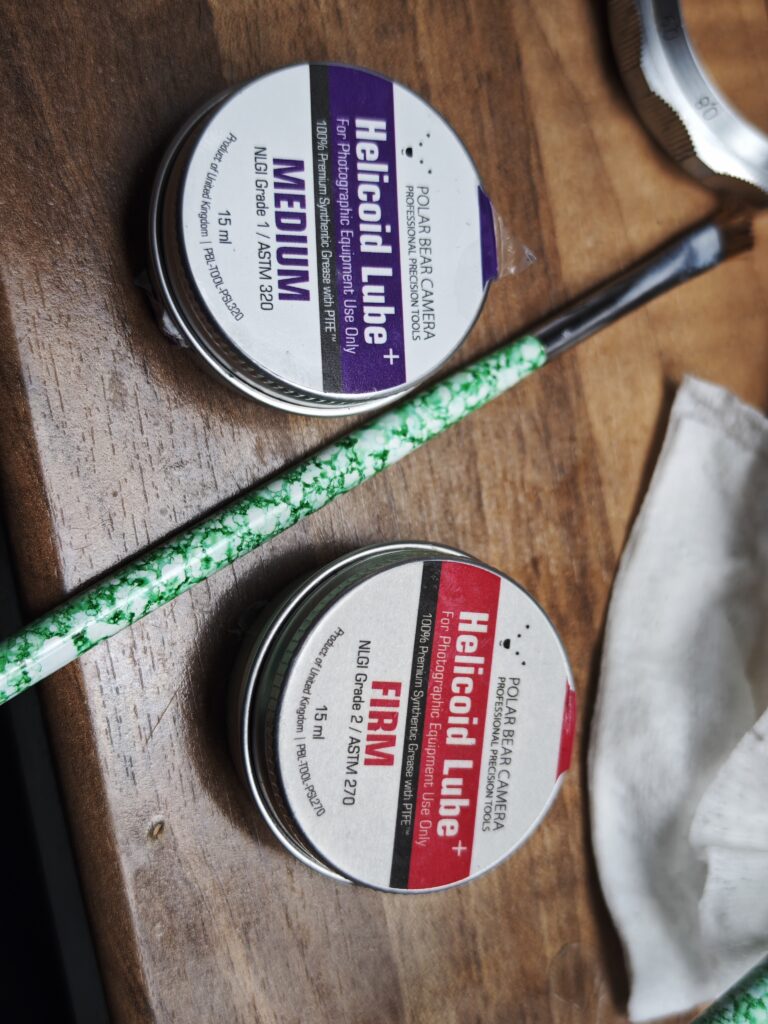
Now to regreasing. I used NLGI Grade 1 for the focusing, NLGI for the Apeture Rings, aswell as on the mount. Your preference may vary.
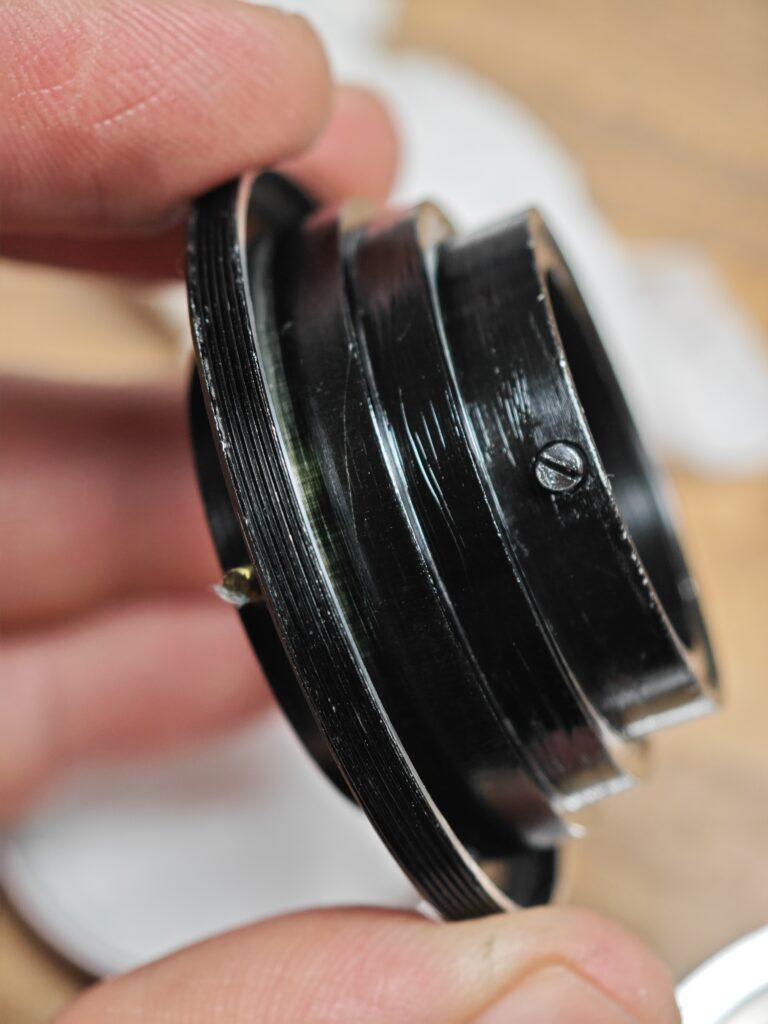
Screw back the ring that holds the focus assembly. Add the stop screws again, if you removed those. Do not forget the mount.
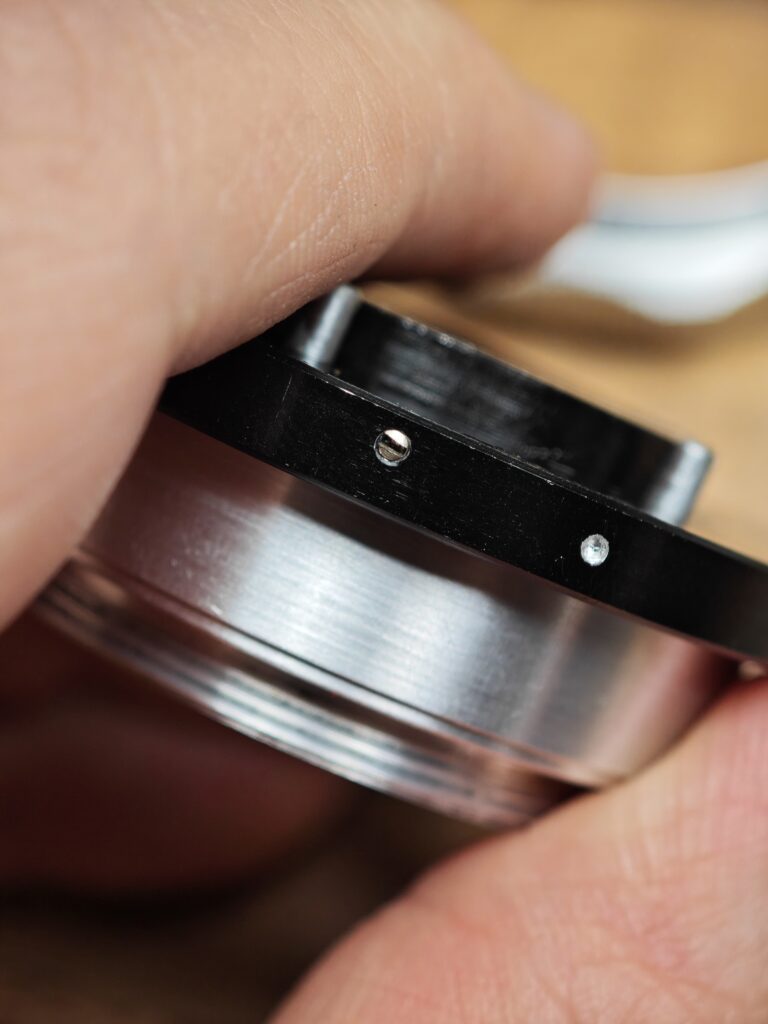
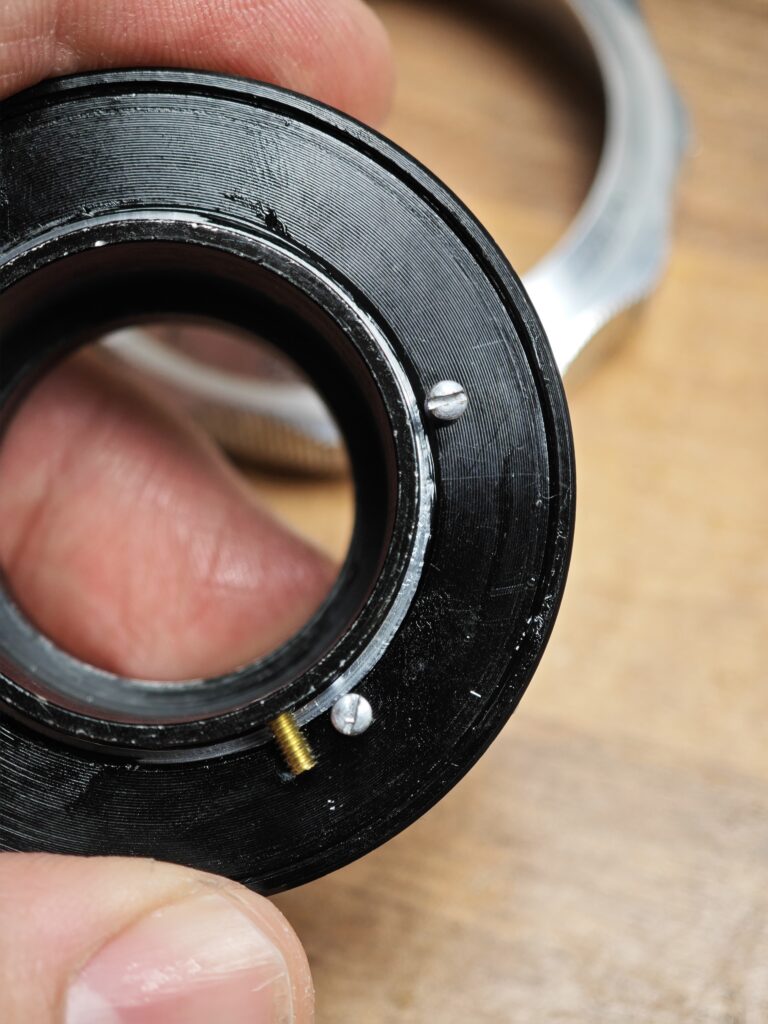
Add the spacer again.
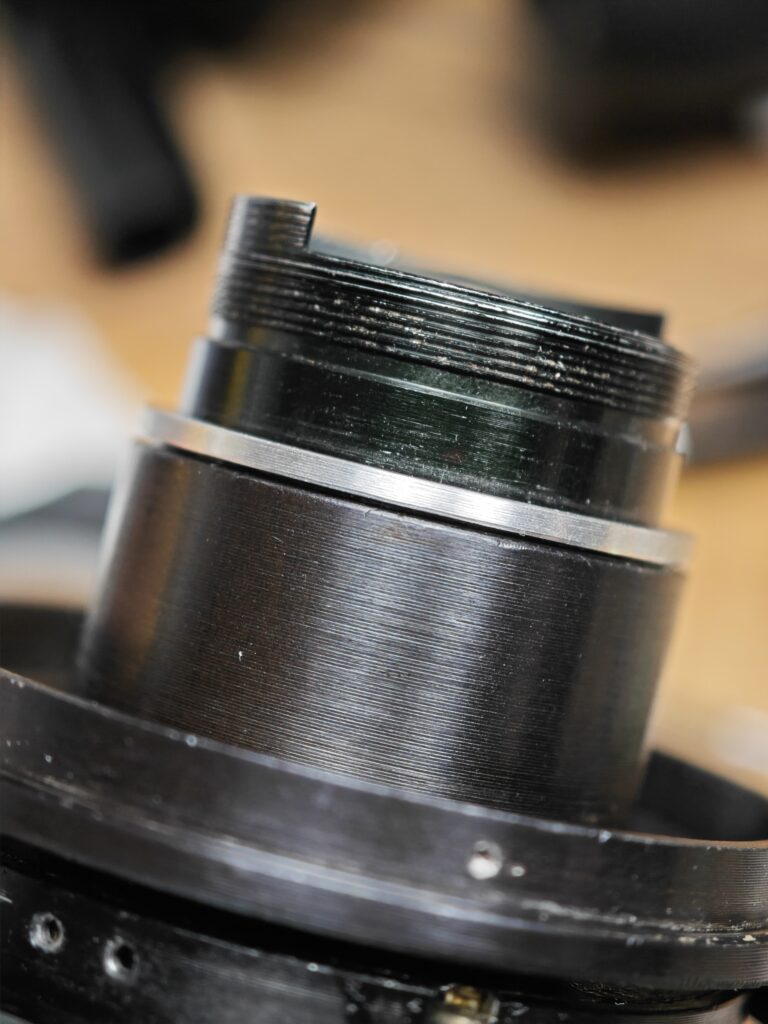
Align the lens markings and tighten the ring.
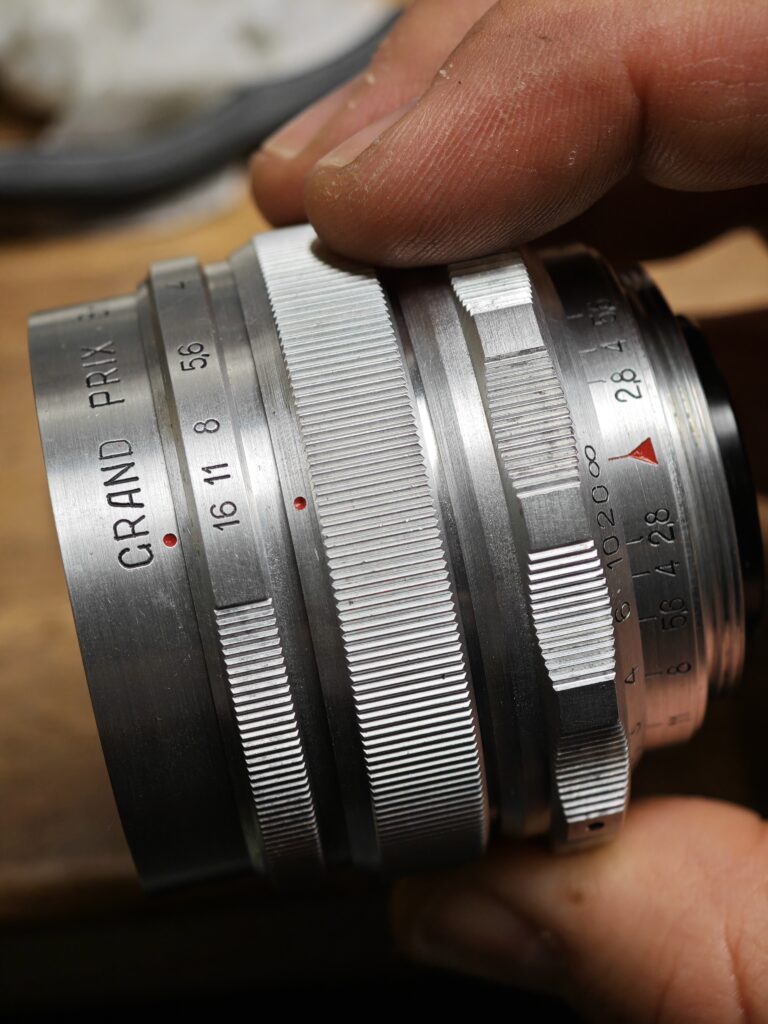
Finished. Now the lens is back to former glory. I hope this blog entry helps.